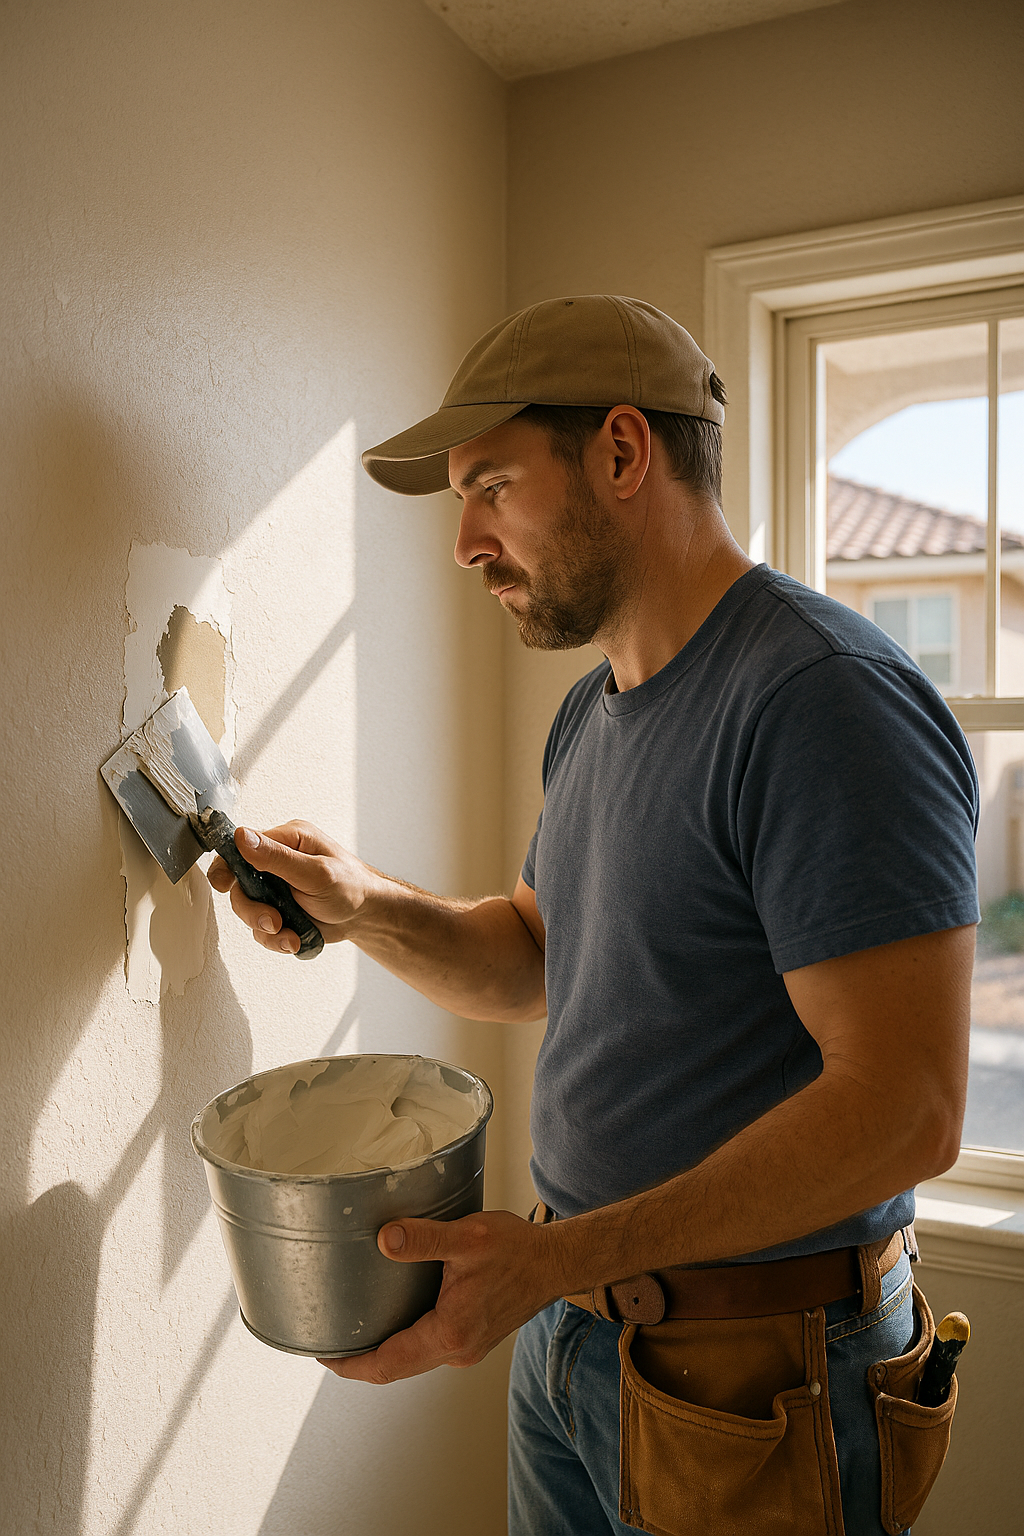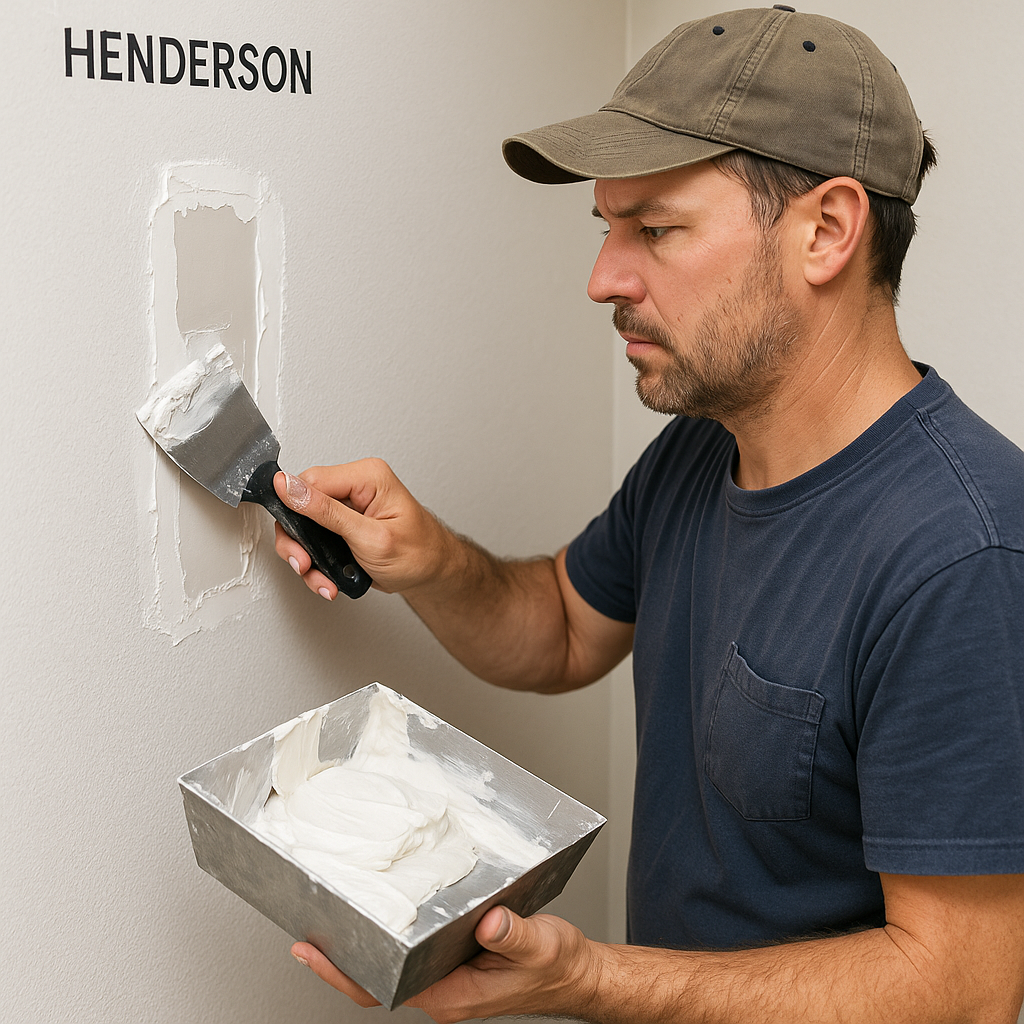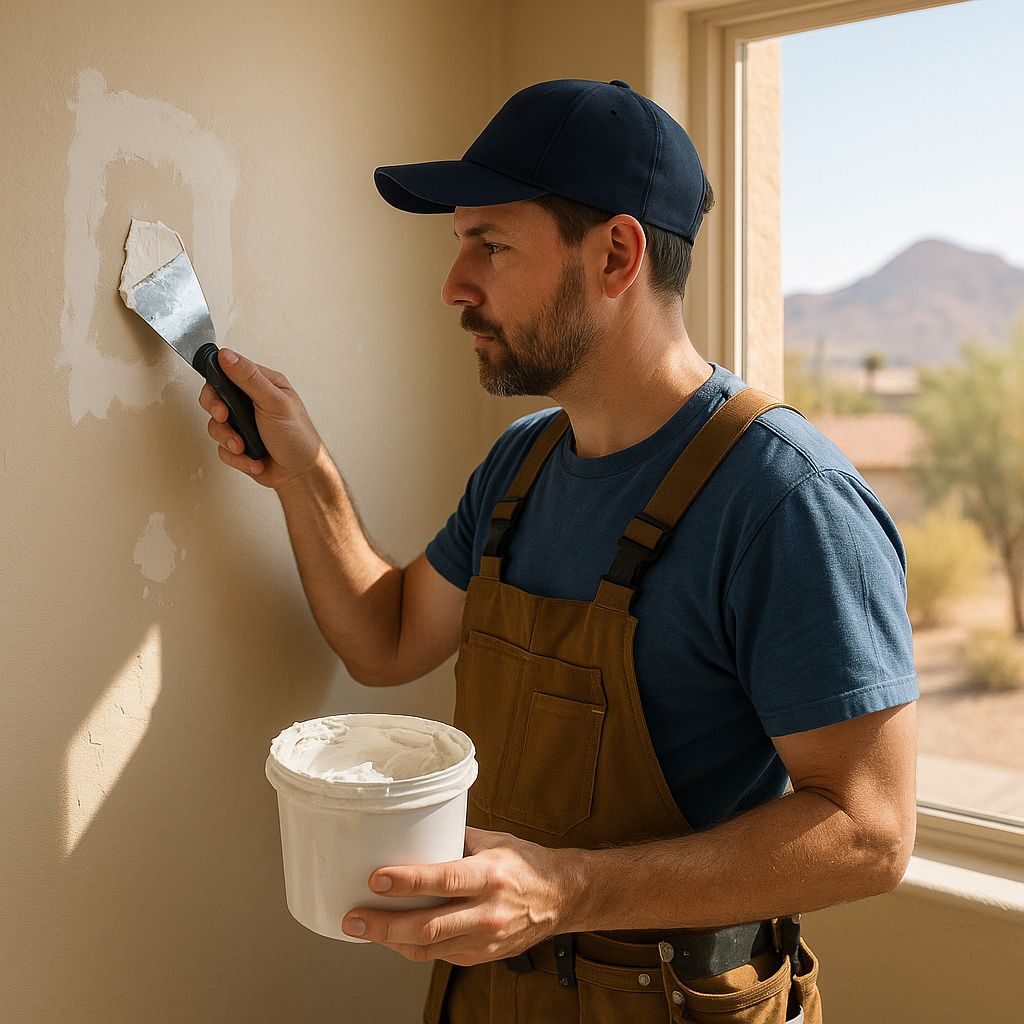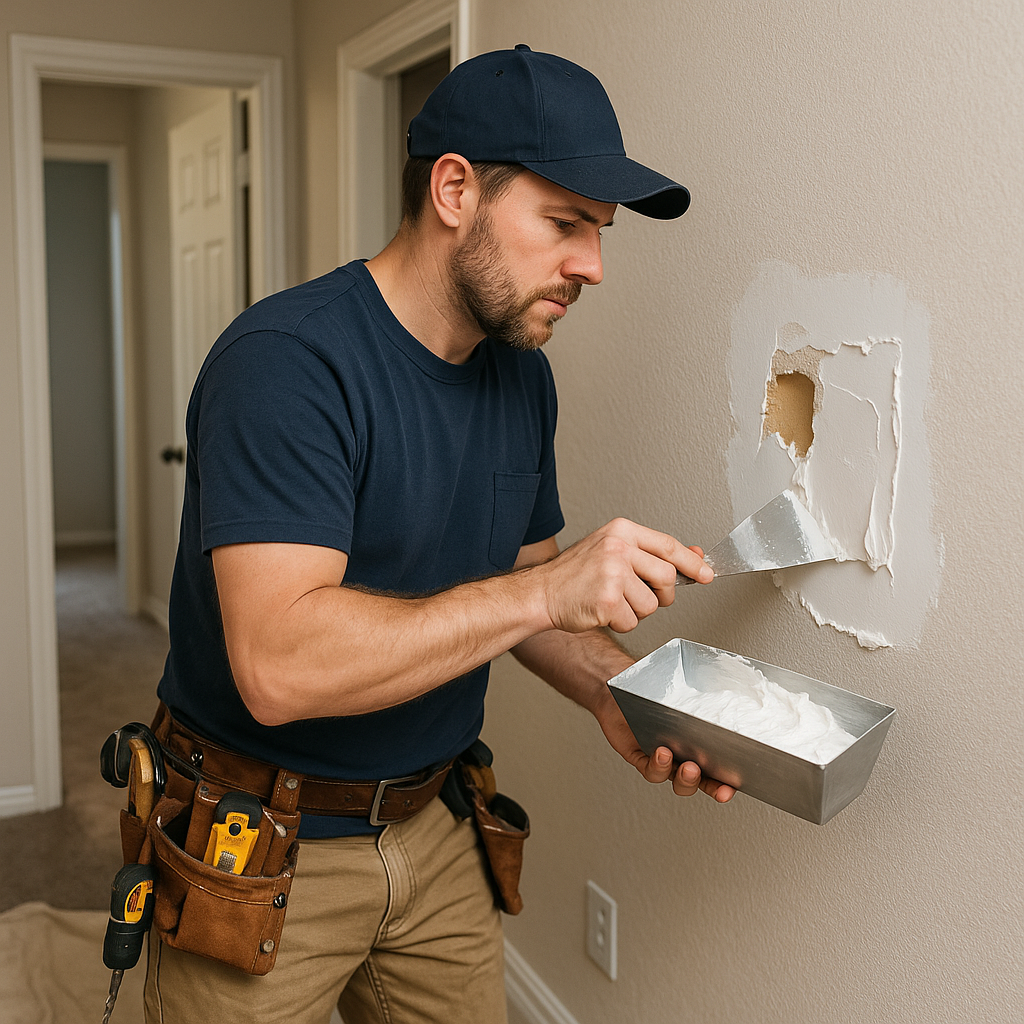
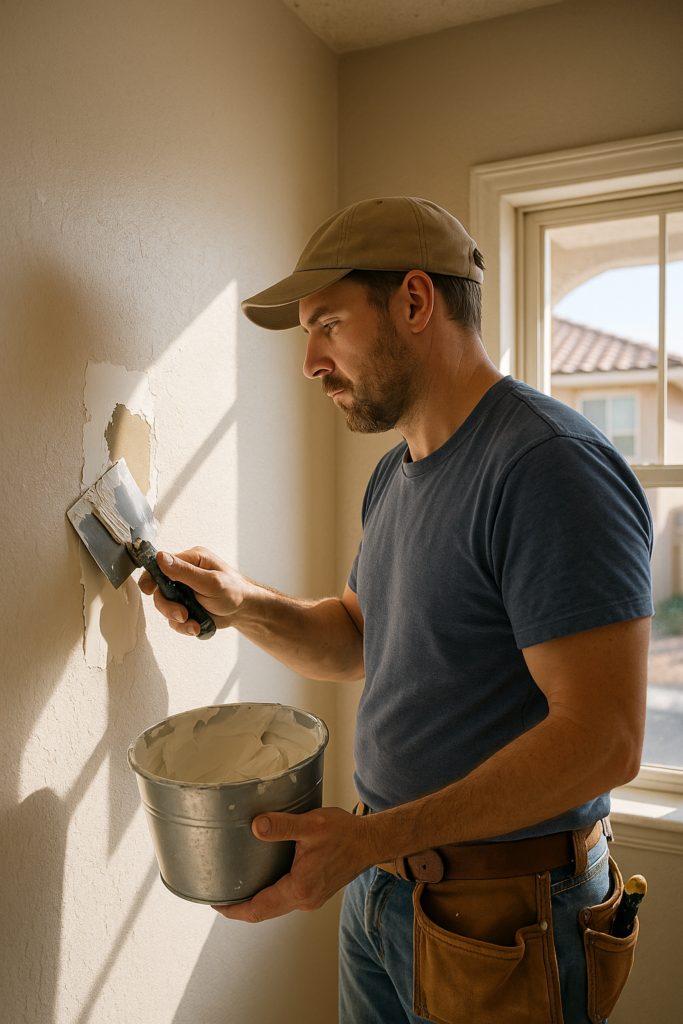
Homeowners in Henderson know the importance of maintaining their properties in top condition, especially when it comes to drywall repair. Whether you’re dealing with minor cracks or more significant damage, understanding the basics of drywall repair can save you time and money. This comprehensive guide will walk you through common issues, repair tips, and when it’s best to call in the professionals at Call 4 Handyman.
Understanding Drywall Issues
Drywall, also known as gypsum board, is a popular building material used to create walls and ceilings. Despite its durability, drywall can suffer from various issues due to environmental factors, accidental damage, or improper installation.
Common Drywall Problems
- Cracks: Often caused by settling foundations or temperature fluctuations.
- Nail Pops: When nails push through the drywall surface due to building movement.
- Water Damage: Resulting from leaks or high humidity, leading to staining and weakening of the material.
- Dents and Holes: Usually from impacts or accidents.
Why Drywall Issues Shouldn’t Be Ignored
Unresolved wall damage can worsen or conceal an underlying problem. Drywall is generally a finish material; a crack alone does not establish structural damage. Cracks can expand, and water damage can lead to mold growth, posing health risks.
Repair or Replace: What to Consider
Deciding between repair and replacement depends on the extent of the damage. Minor cracks and holes can often be repaired easily, while extensive water damage may require replacement of the affected sections.
Repair Process
For minor repairs, homeowners can often tackle the job themselves. Here are some steps to follow:
- Preparation: Clean the area and remove any loose material.
- Patching: Apply joint compound and use a patch for larger holes.
- Sanding: Once dry, sand the area to create a smooth surface.
- Painting: Match the existing wall color for a seamless finish.
When to Call a Professional
For extensive damage or if you’re unsure about tackling the repair yourself, it’s wise to contact professionals. Call 4 Handyman offers expert drywall repair services in Henderson, ensuring high-quality results.
Maintaining Your Drywall
Regular maintenance can prevent many common drywall issues. Here are some tips:
- Monitor for Cracks: Regularly inspect walls for new or expanding cracks.
- Control Humidity: Use dehumidifiers to maintain optimal indoor humidity levels.
- Address Leaks Promptly: Fix any plumbing leaks or roof issues immediately.
Factors Affecting Repair Complexity
Several factors can influence the complexity and cost of drywall repair:
- Size of Damage: Larger areas require more materials and labor.
- Location: Repairs in hard-to-reach areas may be more challenging.
- Underlying Issues: Addressing root causes like leaks can add to the complexity.
FAQ
- How long does drywall repair take? Minor repairs can be completed in a few hours, while larger projects may take a day or more.
- Can I paint immediately after repair? Follow the compound and coating manufacturers’ drying and recoat instructions; timing varies with the product and conditions.
- What materials do I need for DIY repair? You’ll need joint compound, a patch kit, sandpaper, and paint.
- How can I prevent nail pops? Ensure proper installation and maintain consistent indoor temperatures.
- Is drywall repair expensive? Costs vary based on damage extent and labor; consult professionals for a quote.
7 Essential Drywall Repair Checks for Henderson Homeowners
A lasting drywall repair begins with a decision about the damage, not with a container of compound. Use the seven checks below to organize an estimate and understand what the finished work should include. Photograph the wall from several feet away and take a closer photograph of the defect. Describe when you first noticed it, whether it has changed, and whether any work happened nearby. Those details help distinguish a small surface repair from a problem that needs investigation before the wall is closed.
1. Separate Surface Damage From a Recurring Problem
Drywall repair for an accidental doorknob hole is different from repairing a crack that reappears every few months. Tell the contractor which situation applies. A surface patch can cover a mark without explaining why it happened. If a crack returns, list the earlier repair dates and provide any photographs. Look for associated changes such as a door that recently began sticking, a new stain, or separation at nearby trim. Describe these observations without assuming the cause. A photograph alone cannot establish whether a building has a structural problem.
For drywall repair estimates, ask what the contractor can evaluate during the visit and what would require another specialist. Not every crack indicates structural movement, and a smooth patch is not evidence that movement has stopped. An unexplained change deserves an appropriate assessment. Keep the visible area accessible, but do not enlarge openings or remove material merely to prepare for an estimate. If the wall is bulging or the ceiling is sagging, keep people away and arrange an assessment before allowing routine finishing work underneath it.
2. Resolve Moisture Before Drywall Repair
A stained wall needs more than matching paint when moisture is still entering it. Explain whether the stain followed rain, a plumbing leak, an appliance problem, or an event whose source is unknown. Request a clear distinction between stopping the source, drying the affected materials, and rebuilding the wall. These can be separate services. A dry-looking face does not establish that the cavity is ready to close. Ask the responsible professional how readiness will be evaluated and which findings will be documented before the finishing stage begins.
Drywall repair should not hide suspected mold or unresolved dampness. The EPA guide to mold and moisture explains the importance of addressing moisture and cleaning and drying affected surfaces before painting. If the damage is extensive, concealed, or associated with contaminated water, discuss appropriate professional assessment. Do not sand a suspect area as a way to identify it. Tell the provider about odors and past leaks. For the related sequence, read our guide to drywall after a plumbing leak.
3. Define the Drywall Repair Boundary
Ask whether the proposal covers one hole, a section between framing, an entire ceiling area, or several unrelated marks. The visible defect and the area that must be finished are not always the same size. Finishing material generally needs room to blend into the surrounding surface. A small opening near a corner, cabinet, window, or light can be harder to access than a larger opening on a clear wall. Provide the approximate location and room layout when asking for service, rather than describing every job as a small patch.
For a useful drywall repair scope, list each room and each defect separately. A living room ceiling, a hallway corner, and a bathroom wall may need different preparation and finishing. Ask whether removal, replacement board, joint treatment, texture, primer, paint, and debris collection are included. If the wall forms part of a special assembly, the repair should respect its requirements. Avoid approving a proposal that describes only patching when you expect a completely painted wall. Clear boundaries make the final review easier for both the homeowner and the service team.
4. Agree on Texture and Appearance
Texture matching is often the part of drywall repair that homeowners notice most after a patch dries. Identify whether the surrounding surface is smooth, orange peel, knockdown, or something else. If you do not know, provide photographs taken under normal room lighting. Ask how the contractor plans to blend the repaired area and whether a sample is practical. Texture depends on the existing surface, tools, application, and previous coats. An exact match cannot be promised from a description alone, especially when the surrounding finish has been painted repeatedly.
Discuss drywall repair expectations before the room is covered with protective materials. A wall can look different under a window’s side light than it does under a central ceiling fixture. Review the area in the lighting that matters to you, and identify whether the estimate includes broader finishing to reduce a visible transition. Our texture matching guide explains the choices to discuss. Keep a small amount of existing paint if you have it, but understand that aging and sheen can still make a fresh touch-up visible.
5. Plan Access and Dust Control
Before drywall repair, identify what can be moved and what must stay in place. Remove small valuables and explain any restrictions involving heavy furniture, built-in shelving, or fragile surfaces. Ask how the team will protect the floor and separate the work area from occupied rooms. Sanding and cleanup should be discussed as part of the service rather than left to assumptions. If someone works from home or needs the room during the day, share that information while scheduling. It can affect the sequence of access and finishing visits.
A drywall repair appointment may also involve parking, gates, stairs, elevators, and community access rules. In a condominium, check requirements with management before the appointment. Keep children and pets away from the work area and avoid moving barriers or equipment without checking with the team. Ask which areas will remain accessible at the end of each visit. Our home preparation checklist covers room preparation in more detail. Let the contractor decide what access equipment the ceiling or stairwell requires; furniture is not a suitable substitute.
6. Allow for Drying and Finish Visits
Drywall repair schedules depend on more than the size of the hole. The selected products, coat thickness, room conditions, and finishing scope influence the time between stages. Ask whether the estimate anticipates one visit or several and which milestones must happen before painting. Do not rely on a universal twenty-four-hour rule for every compound or repair. Manufacturer instructions and actual conditions should guide the next coat. A product may be ready for one stage without the entire repaired area being ready for every finishing step.
If drywall repair is part of a larger project, coordinate the order with other work. Plumbing or electrical access should be resolved before a wall is closed. Ceiling patching should be planned around fixture work, and final decorating should follow the required preparation. Ask who is responsible if another trade reopens a completed patch. Give the contractor your preferred completion date and explain any fixed deadline, but obtain a realistic schedule before arranging furniture delivery or a property showing. Written sequencing helps prevent avoidable rework and confusion about which service is complete.
7. Review the Drywall Repair Before Closeout
At the final walkthrough, compare the work with the written scope. Check the agreed rooms, repaired areas, texture treatment, painted boundaries, and cleanup. Look under the lighting discussed at the estimate rather than introducing a new expectation after completion. Ask about any visible transition and whether it is within the agreed finishing approach. If a defect remains, identify its exact location and have the next step recorded. A review is most useful when it separates an unfinished item from additional work that was never included in the original proposal.
Keep the drywall repair invoice, product information, paint labels, photographs, and any written workmanship terms together. Ask when the room can return to ordinary use and whether fresh finishes need special care. Do not wash or scrub a new painted surface before the applicable product guidance allows it. If a crack or stain returns, document the change and contact the provider instead of repeatedly covering it. A returning symptom may need a fresh assessment of the cause. Clear records help the next conversation begin with facts rather than conflicting recollections.
Compare Drywall Repair Estimates by Scope
Two drywall repair prices are useful to compare only when they cover the same outcome. One may include a patch ready for paint while another includes texture, primer, and painting a wider area. Ask each provider to identify labor, materials, access, protection, finishing, disposal, and exclusions. Do not assume that the lowest total includes the most visible part of the project. If a proposal depends on concealed conditions being sound, ask how a change will be priced and approved if the opened wall reveals a different situation.
For multiple drywall repair areas, send an organized room list rather than a collection of unlabeled close-up images. Include one wider image of each location so the estimator can understand ceiling height and nearby obstructions. Explain whether the property is occupied and whether other repairs are scheduled. Keep requests for unrelated services separate enough to be priced clearly. See our Henderson service overview and drywall repair service page for related work, then request a scope based on the actual property.
Practical Drywall Repair Questions to Ask
Can the existing board remain? Ask what condition the contractor expects to find and what would change that decision. A simple answer based only on the size of a stain is less useful than a description of the assessment. Will the repaired area receive primer? Ask how the chosen finishing system addresses the repaired surface. Will the whole wall be painted? Confirm the exact boundary rather than assuming a touch-up means a complete room repaint. Each question helps define an observable result and a more accurate service request.
Who handles related work? A drywall repair contractor may not be the person who diagnoses a roof leak, changes electrical wiring, or evaluates unusual movement. Ask which tasks are included and which need a separate professional. What happens if the match is visible? Discuss options and limits before accepting the estimate. How should the room be prepared? Get the team’s specific instructions and avoid unnecessary removal or demolition. What records should you keep? Save photographs and written terms so a later maintenance question can be connected to the completed work.
Conclusion
Whether you’re dealing with minor drywall issues or significant damage, understanding when to DIY and when to call the professionals is crucial. For expert drywall repair in Henderson, reach out to Call 4 Handyman. Our experienced team is ready to help you maintain your home’s beauty and integrity.
For more information on our services, visit our handyman services in Las Vegas page or check out our Las Vegas Home Maintenance Guide.
Call 4 Handyman
702-752-0758
https://call4handymanlasvegas.com/
When a Small Drywall Repair Needs a Different Approach
An opening near a switch, outlet, pipe, or built-in feature needs careful assessment before any cutting. Tell the service team what is behind or beside the damaged area if you know. Avoid driving fasteners into an uncertain location. If the wall has an unusual coating, older surface layers, or a history that you cannot establish, ask about appropriate assessment before disturbance. The age and composition of a finish cannot be confirmed by appearance alone. Ordinary patching instructions are not a substitute for evaluating materials and concealed services.
Drywall repair also deserves special planning when a tenant, buyer, or property manager will review the result. Agree who can approve extra work and who will be present for the final walkthrough. Keep the written scope available so a request for additional painting is identified before the team leaves. If a room has recently received a new finish, explain that during the estimate. Record the existing condition with photographs. A clear starting record makes it easier to distinguish the original damage from the agreed repair and any separate decorating work.
Drywall Repair Planning References