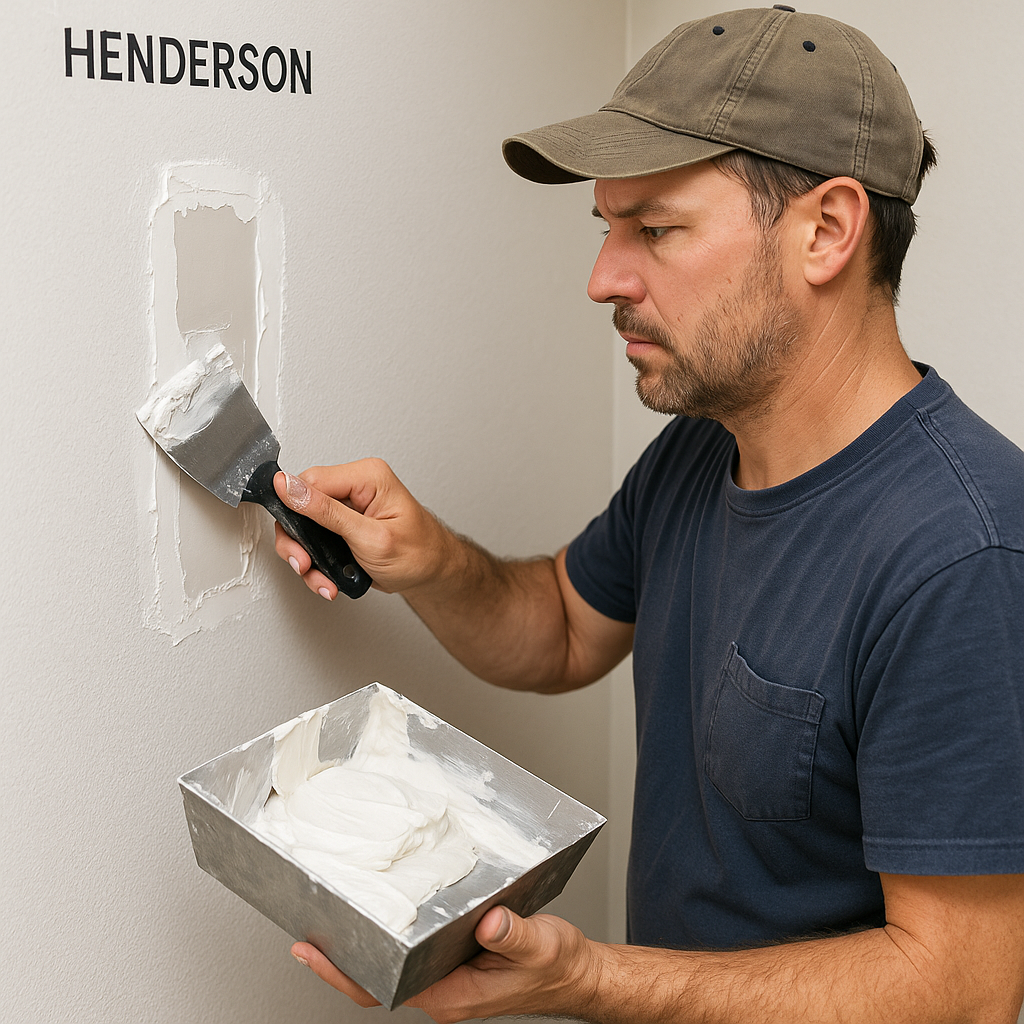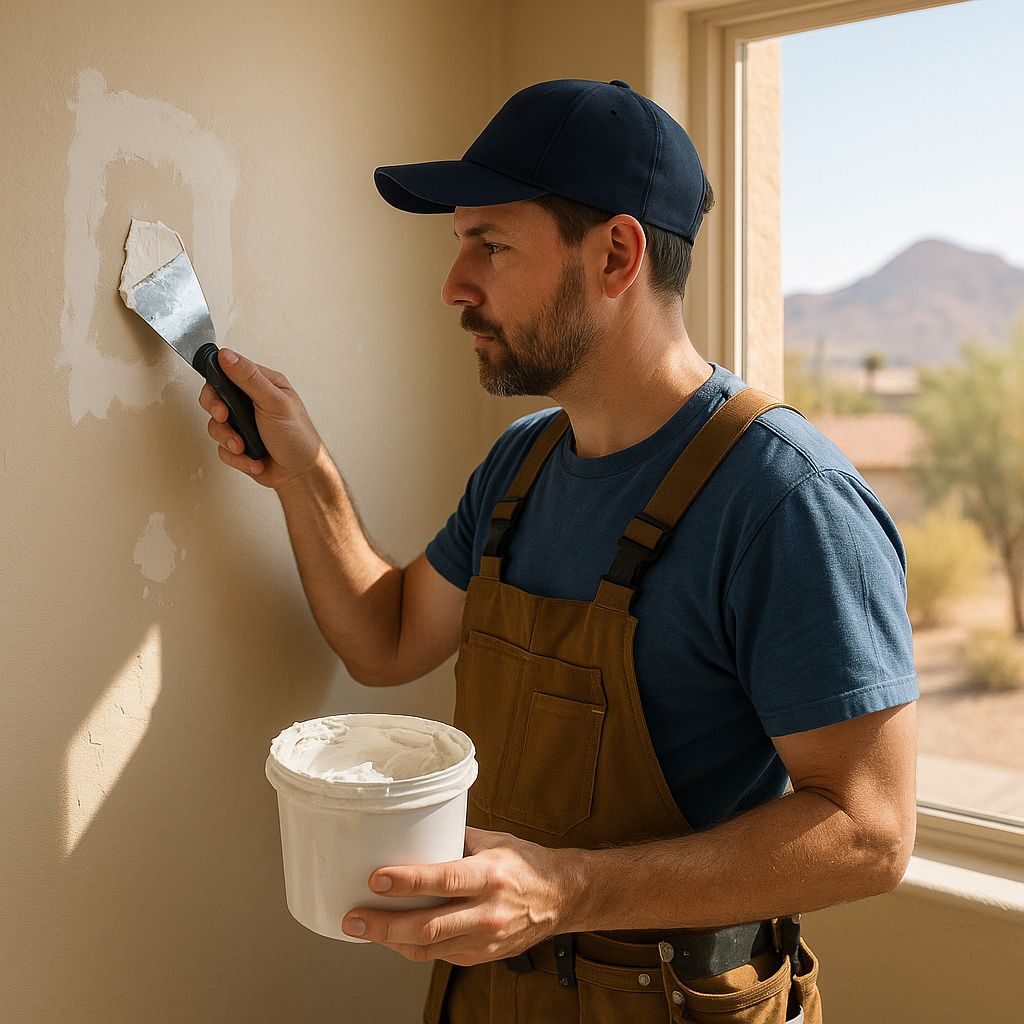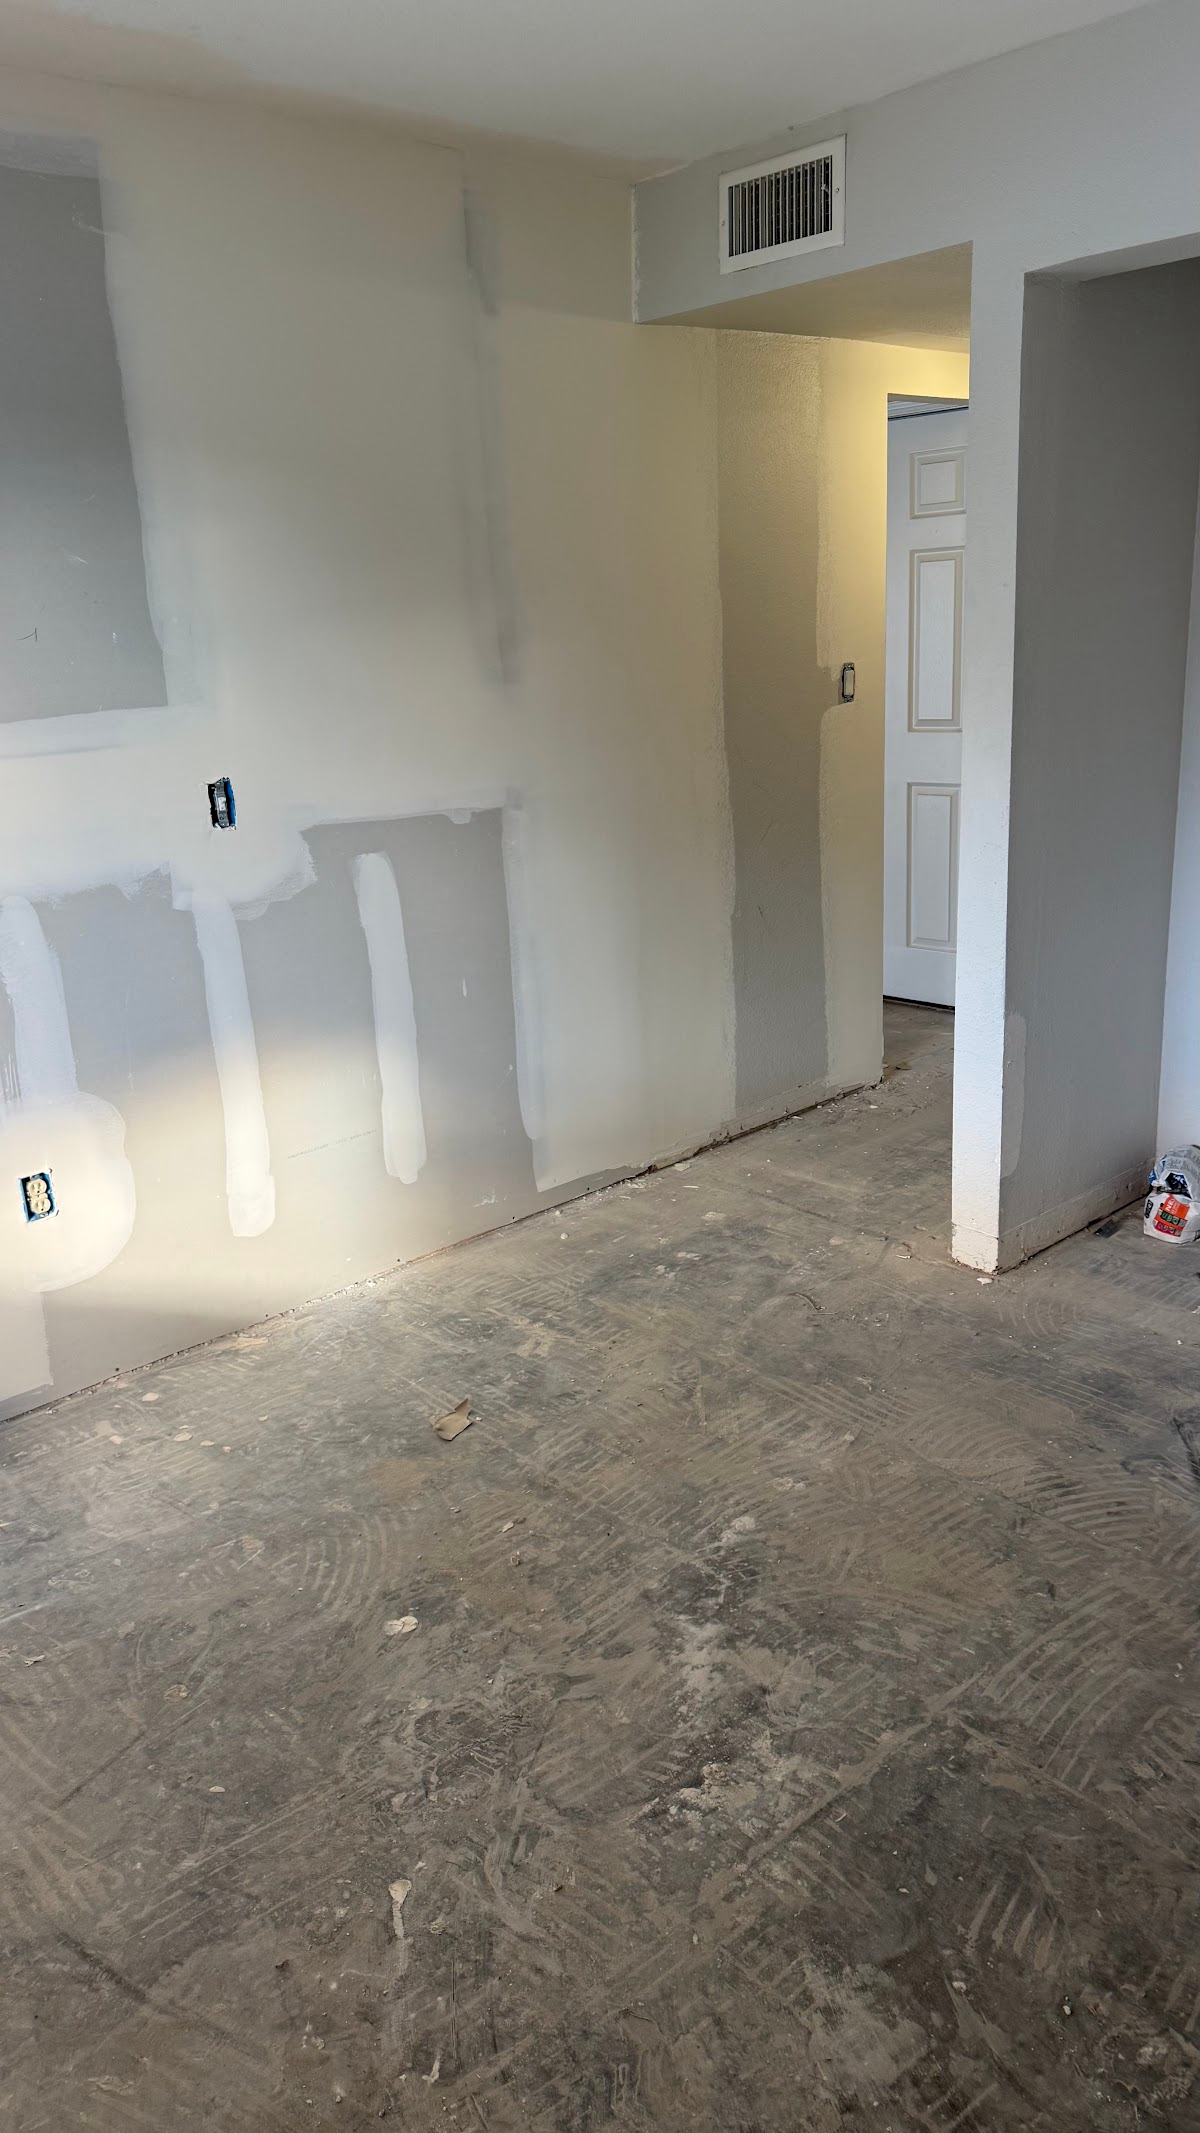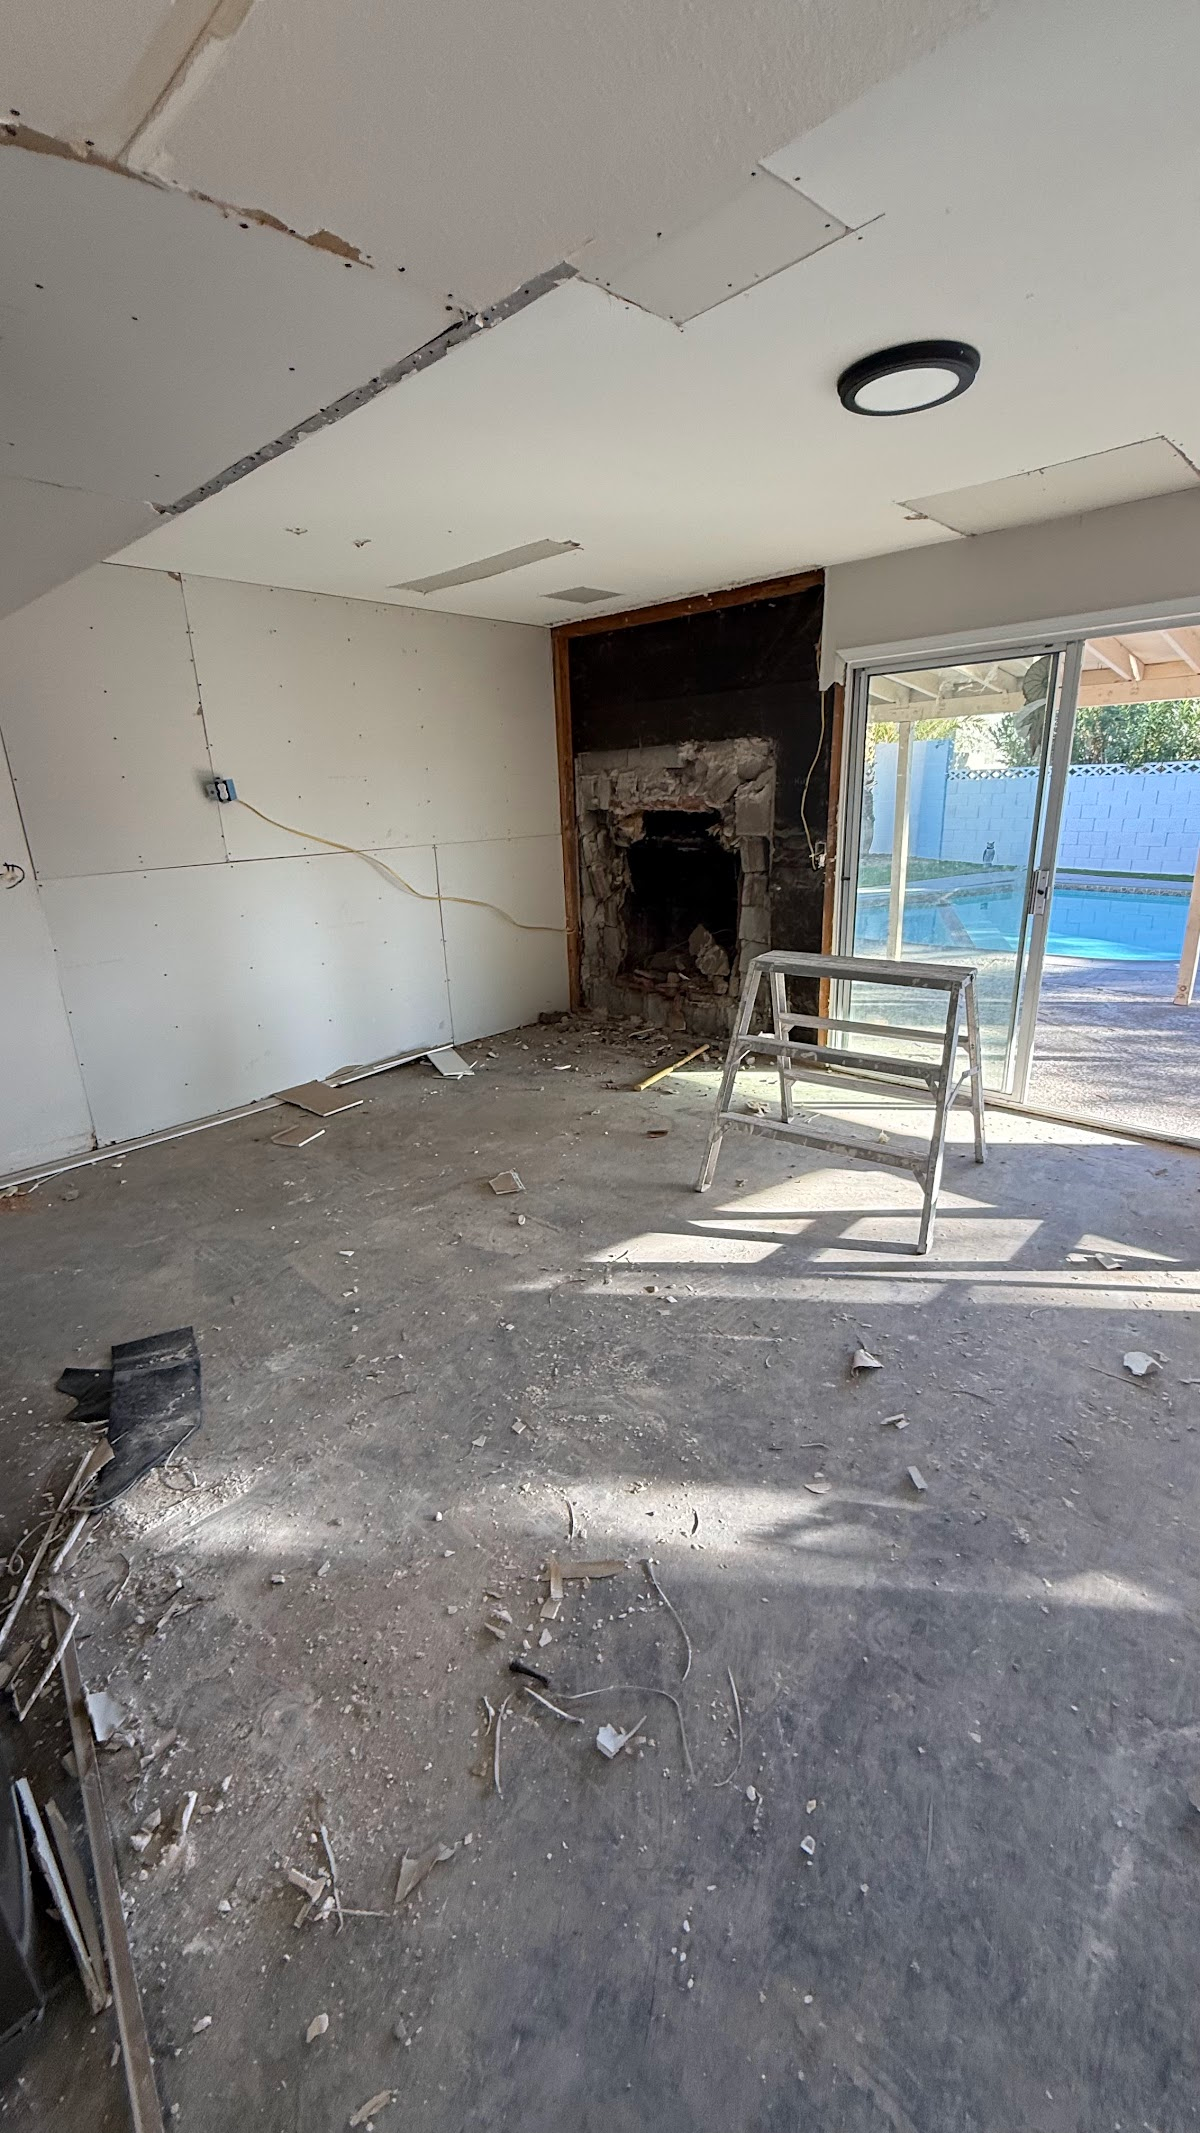

Drywall problems in Las Vegas homes can include cracks, loose joint tape, fastener pops, dents, holes and water staining. Similar-looking marks can have different causes. Record when the defect appeared and whether it has changed before choosing a cosmetic repair. This guide describes common issues and the questions to discuss with a service provider.
Assess the Actual Wall Before Naming the Cause
Building movement, installation conditions, moisture and accidental damage can affect gypsum wall finishes. Outdoor temperature or the neighborhood name does not establish why a particular interior wall cracked. A returning defect should be evaluated in context, including the repair history and any associated change in doors, windows or nearby surfaces.
National Gypsum’s finishing glossary explains several terms used in a drywall assessment, including joint ridging, fastener pops and joint compound shrinkage. Use those terms to understand the conversation, rather than diagnose a hidden condition from a photograph. Ask which findings can be evaluated during the visit and which require another professional.
Common Drywall Issues in Las Vegas Homes
Living in Southern Nevada presents specific environmental factors that differ from those in other parts of the country. Here are the most frequent drywall problems we see in Las Vegas, Henderson, and Summerlin.
1. Stress Cracks and Settlement Lines
The most frequent call we receive at Call 4 Handyman involves cracks. These usually appear above door frames, near the corners of windows, or along the ceiling line.
- The Cause: As mentioned, soil settlement and thermal expansion are the primary culprits. In new builds, “house settling” is expected within the first few years.
- The Solution: Small hairline cracks can often be filled with a flexible caulk or lightweight spackle. However, for recurring or larger cracks, we use fiberglass mesh tape and multiple coats of joint compound to provide structural reinforcement before repainting.
2. Water Damage (Leaks and AC Condensation)
While it doesn’t rain often in Vegas, water damage is surprisingly common.
- The Cause: Most Las Vegas homes have AC units in the attic or on the roof. If a condensate line clogs, water can pool and soak through the ceiling drywall. Additionally, slab leaks (common in older Henderson and Summerlin homes) can wick moisture up the base of the walls.
- The Solution: Water-damaged drywall must be cut out. Gypsum is porous and prone to mold growth if left damp. We remove the affected section, address the source of the leak, and install a fresh patch, ensuring a seamless blend with the existing wall.
Read Also: Water Damage Repair in Las Vegas: What Homeowners Should Do First
3. Popping Nails and Screws
Have you ever noticed small, circular bumps or “dimples” on your walls? These are known as nail pops.
- The Cause: When the wood studs behind the drywall dry out and shrink (a common occurrence in our arid climate), they can push the nail or screw head forward through the drywall finish.
- The Solution: Simply hammering the nail back in won’t work. We drive a new drywall screw near the pop to secure the board to the stud, remove the old fastener or drive it deep, and then patch the area with mud and texture.
4. Loose or Peeling Joint Tape
If you see a straight line peeling away from the corner or a seam, your joint tape has lost its bond.
- The Cause: This is often due to poor installation—specifically, not using enough joint compound under the tape—or excessive heat drying out the adhesive properties of the mud.
- The Solution: We carefully remove the loose tape, sand the area down, and apply a new layer of paper or mesh tape with high-quality joint compound to ensure it never peels again.
5. Physical Damage: Holes and Dents
Life happens. Moving furniture, a rowdy game of catch indoors, or a doorknob without a stopper can easily puncture drywall.
- The Cause: Accidental impact.
- The Solution: For small holes, a “California Patch” (using the drywall’s own paper as a bridge) is effective. For larger holes, we install wooden “backing” or “cleats” behind the hole to provide a solid surface to screw the new drywall patch into.
The Art of Texture Matching in Las Vegas
One of the biggest challenges for DIYers in Las Vegas is matching the wall texture. Most homes in the valley feature one of two styles:
- Orange Peel: A light, dimpled texture that resembles the skin of an orange.
- Knockdown: A more dramatic, flattened-splatter look common in newer Summerlin and Henderson homes.
At Call 4 Handyman Las Vegas, we specialize in “invisible” repairs. We use professional-grade sprayers and hand-trowel techniques to replicate your specific texture. Without a perfect match, even the best patch job will stand out once the paint is applied.
The Professional Repair Process: How We Do It
At Call 4 Handyman Las Vegas, we don’t just “cover up” the problem. We provide lasting solutions. Our process is designed to be efficient, clean, and professional.
Step 1: Assessment and Preparation
We begin by protecting your floors and furniture with drop cloths. Drywall repair is a messy job involving dust and wet mud, and we take every precaution to keep your home clean.
Step 2: Cutting and Cleaning
We cut out the damaged area back to the nearest studs if necessary. Clean, straight edges make for a stronger and more seamless repair.
Step 3: Installation and Taping
We screw in the new drywall piece and apply tape to the seams. Taping is critical; it’s what prevents the repair from cracking again in six months.
Step 4: Mudding and Sanding
We apply 2–3 coats of joint compound, letting each layer dry before sanding it smooth. In the Las Vegas heat, we have to be careful that the mud doesn’t dry too fast, which can cause “crazing” or tiny cracks.
Step 5: Texturing and Priming
Once smooth, we apply the matching texture. After the texture dries, we apply a high-quality primer. Primer is essential because drywall and mud absorb paint differently; skipping this step leads to “flashing” or dull spots on your wall.
DIY vs. Professional Handyman: When to Call the Experts
While a small dent from a picture frame can be a fun weekend DIY project, larger repairs are best left to professionals. Here is why:
- Structural Integrity: If a crack is caused by foundation movement, a simple patch won’t fix it. We can assess if you need more significant intervention.
- Dust Control: Sanding drywall creates a fine dust that can get into your HVAC system. We use HEPA-filtered vacuums and containment strategies.
- Time and Tools: A professional job that takes us four hours might take an inexperienced homeowner an entire weekend—and three trips to the hardware store.
Why Choose Call 4 Handyman Las Vegas?
At Call 4 Handyman Las Vegas, we aren’t just general contractors; we are your neighbors. We know the specific nuances of homes in Summerlin, the older plumbing in Henderson, and the settlement patterns in North Las Vegas.
Our team, led by Pete, prides itself on quality craftsmanship, fair pricing, and showing up on time. Whether you need a small patch or a full room restoration after water damage, we treat your home with the respect it deserves.
FAQs
1. How long does a typical drywall repair take in Las Vegas?
Most small to medium repairs (like doorknob holes or settlement cracks) can be completed in a single day. However, because each layer of joint compound and texture needs time to dry before painting, we often suggest a “two-visit” approach to ensure the highest quality finish.
2. Can you match the specific texture on my walls?
Yes! We are experts in matching the common Las Vegas “Orange Peel” and “Knockdown” textures. We use professional spray equipment and hand-finishing techniques to ensure the repair is virtually invisible once painted.
3. Why do the cracks in my ceiling keep coming back?
This is usually due to the extreme temperature fluctuations in Las Vegas or ongoing soil settlement. If a repair keeps failing, it may require structural reinforcement with fiberglass mesh or a specialized flexible joint compound, which we can provide.
4. Should I worry about mold if my drywall got wet from a leak?
In the Las Vegas heat, mold can begin to grow within 24 to 48 hours if moisture is trapped behind the wall. If your drywall feels soft, smells musty, or shows staining, it’s best to have us cut out the affected area and inspect the wall cavity for safety.
Read Also: Signs of Mold in Your Home (Las Vegas Homeowners Must Know)
5. Do I need to provide the paint for the repair?
If you have the original paint on hand, that is ideal for a perfect color match. If not, we can take a small sample from the wall, have it professionally color-matched at a local paint store, and handle the painting for you as part of our full-service repair.
Conclusion
Drywall repair in Las Vegas is about more than just filling holes. It is about protecting your investment from the harsh desert elements and maintaining your home’s aesthetic value. You can catch issues early, before they become costly structural problems, by understanding the common causes of damage, from scorching heat to natural soil settlement.
Whether you’re preparing your home for sale or just want to get rid of that annoying crack in the hallway, Call 4 Handyman Las Vegas is here to help. Reach out to us today for a professional, seamless repair that makes your walls look brand new again. Call 702-752-0758 today for a free estimate from your trusted Las Vegas handyman!
Plan Drywall Work by Room and Surface
A room-by-room repair list helps the estimator see how the work fits together. Label photographs with the room, wall and defect, then add one wide view showing the surroundings. A close-up of a hole may not reveal that it sits above a stairwell or behind a large cabinet. Approximate dimensions are helpful, but do not climb or open a damaged area merely to collect them. Explain which rooms remain occupied and any deadline affecting the visit. The written proposal should describe the result you expect in each location.
Living Rooms With Strong Side Lighting
Large windows and decorative lighting can make an older patch more noticeable after painting. Tell the contractor which lighting conditions matter to you and whether you expect a complete wall finish or only a local touch-up. Discuss texture and sheen together. A color match alone does not guarantee that the repaired area will disappear under every angle of light. Ask what broader preparation would change the appearance and have that included in the proposal if it is part of the agreed scope.
For living room drywall work, identify wall-mounted equipment, shelving, furniture and cables near the area. The provider should know what must be protected and what needs removal before access is possible. Do not assume that the patching price includes disconnecting and reinstalling unrelated fixtures. If another trade is required, agree who handles it and in what order. Keep the selected paint label and any texture sample with the room notes so the finishing discussion is connected to the actual surfaces.
Bedrooms and Occupied Work Areas
Explain whether the room must be available for sleeping or remote work during the project. Ask how the team will separate the active area and how the room will be left between visits. Move small belongings and identify heavy furniture that cannot easily be relocated. Keep children and pets out of the work zone. Scheduling around the household is easier when those needs are raised during the estimate, rather than after preparation begins. Agree on access times and any quiet periods that affect the work.
Drywall repairs can involve more than one stage before decoration is complete. Ask which visits cover preparation, patching, texture, primer and paint. The selected products and conditions should determine the timing between stages. Do not rely on a universal one-day promise for every wall. If the room needs to be returned to use for a specific event, share the date early. Keep following services flexible until the responsible team confirms that the repaired area is ready for the next stage.
Kitchens and Bathrooms With a Leak History
Tell the provider about previous water incidents, including when the source was addressed and which materials were affected. A dry-looking painted surface is not a complete assessment of the cavity behind it. Separate the task of resolving the water problem from rebuilding the finish. Ask who is responsible for confirming that the area is ready to close. If there are unresolved odors, suspect growth or concealed damage, discuss appropriate assessment before cosmetic work proceeds. Avoid treating paint as a solution to an ongoing source.
In kitchens and bathrooms, the drywall scope should identify nearby cabinets, counters, mirrors, tile and fixtures that affect access. Agree whether removing and returning any item is included. If the repaired finish meets another surface, ask how that boundary will be handled. An estimate for a wall patch may not include replacing a damaged cabinet side or repainting the entire room. Listing those related tasks separately helps you compare proposals and prevents the final walkthrough from turning into a discussion about unpriced work.
Hallways, Corners and Door Openings
A damaged corner or a crack near an opening needs a clear description of its location and history. Explain whether impacts are frequent or whether a door has recently changed operation. Avoid assuming every mark has the same cause. Ask the contractor what repair boundary is proposed and how the surrounding finish will be blended. If the area is a busy route, discuss how people will move safely around the work. Protection, access and cleanup belong in the scope, even when the visible defect is small.
For recurring drywall damage from normal room use, discuss the practical conditions before choosing the finish. Furniture placement, a door stop or a separately scoped hardware repair may need attention so a new patch is not struck again. Do not ask the patch itself to solve an unrelated layout or hardware problem. Keep the responsibilities clear when several tasks are coordinated. The provider should explain which work is included and which requires another decision, part or service appointment.
Ceilings and Areas Above Stairs
Describe the height and layout from a safe position on the floor. Let the provider plan suitable access rather than suggesting that furniture can serve as a work platform. Report sagging, loose material or active water entry before a routine finishing appointment is scheduled. Keep people away from an area that appears unsafe and arrange assessment. A ceiling patch can have a different scope and access requirement from a similar-sized mark on a clear wall. Explain those conditions when requesting the estimate.
Review the Completed Rooms Together
At closeout, use the room list to check the agreed repairs, finishing boundaries and cleanup. Review an unresolved item by location and record the next step clearly. Save photographs, paint details, product information and written workmanship terms with the invoice. If a crack or stain returns, document the change and contact the provider instead of repeatedly covering it. An accurate maintenance record helps distinguish completed cosmetic work from a new or recurring symptom that needs a different assessment.
Drywall Preparation and Finishing References