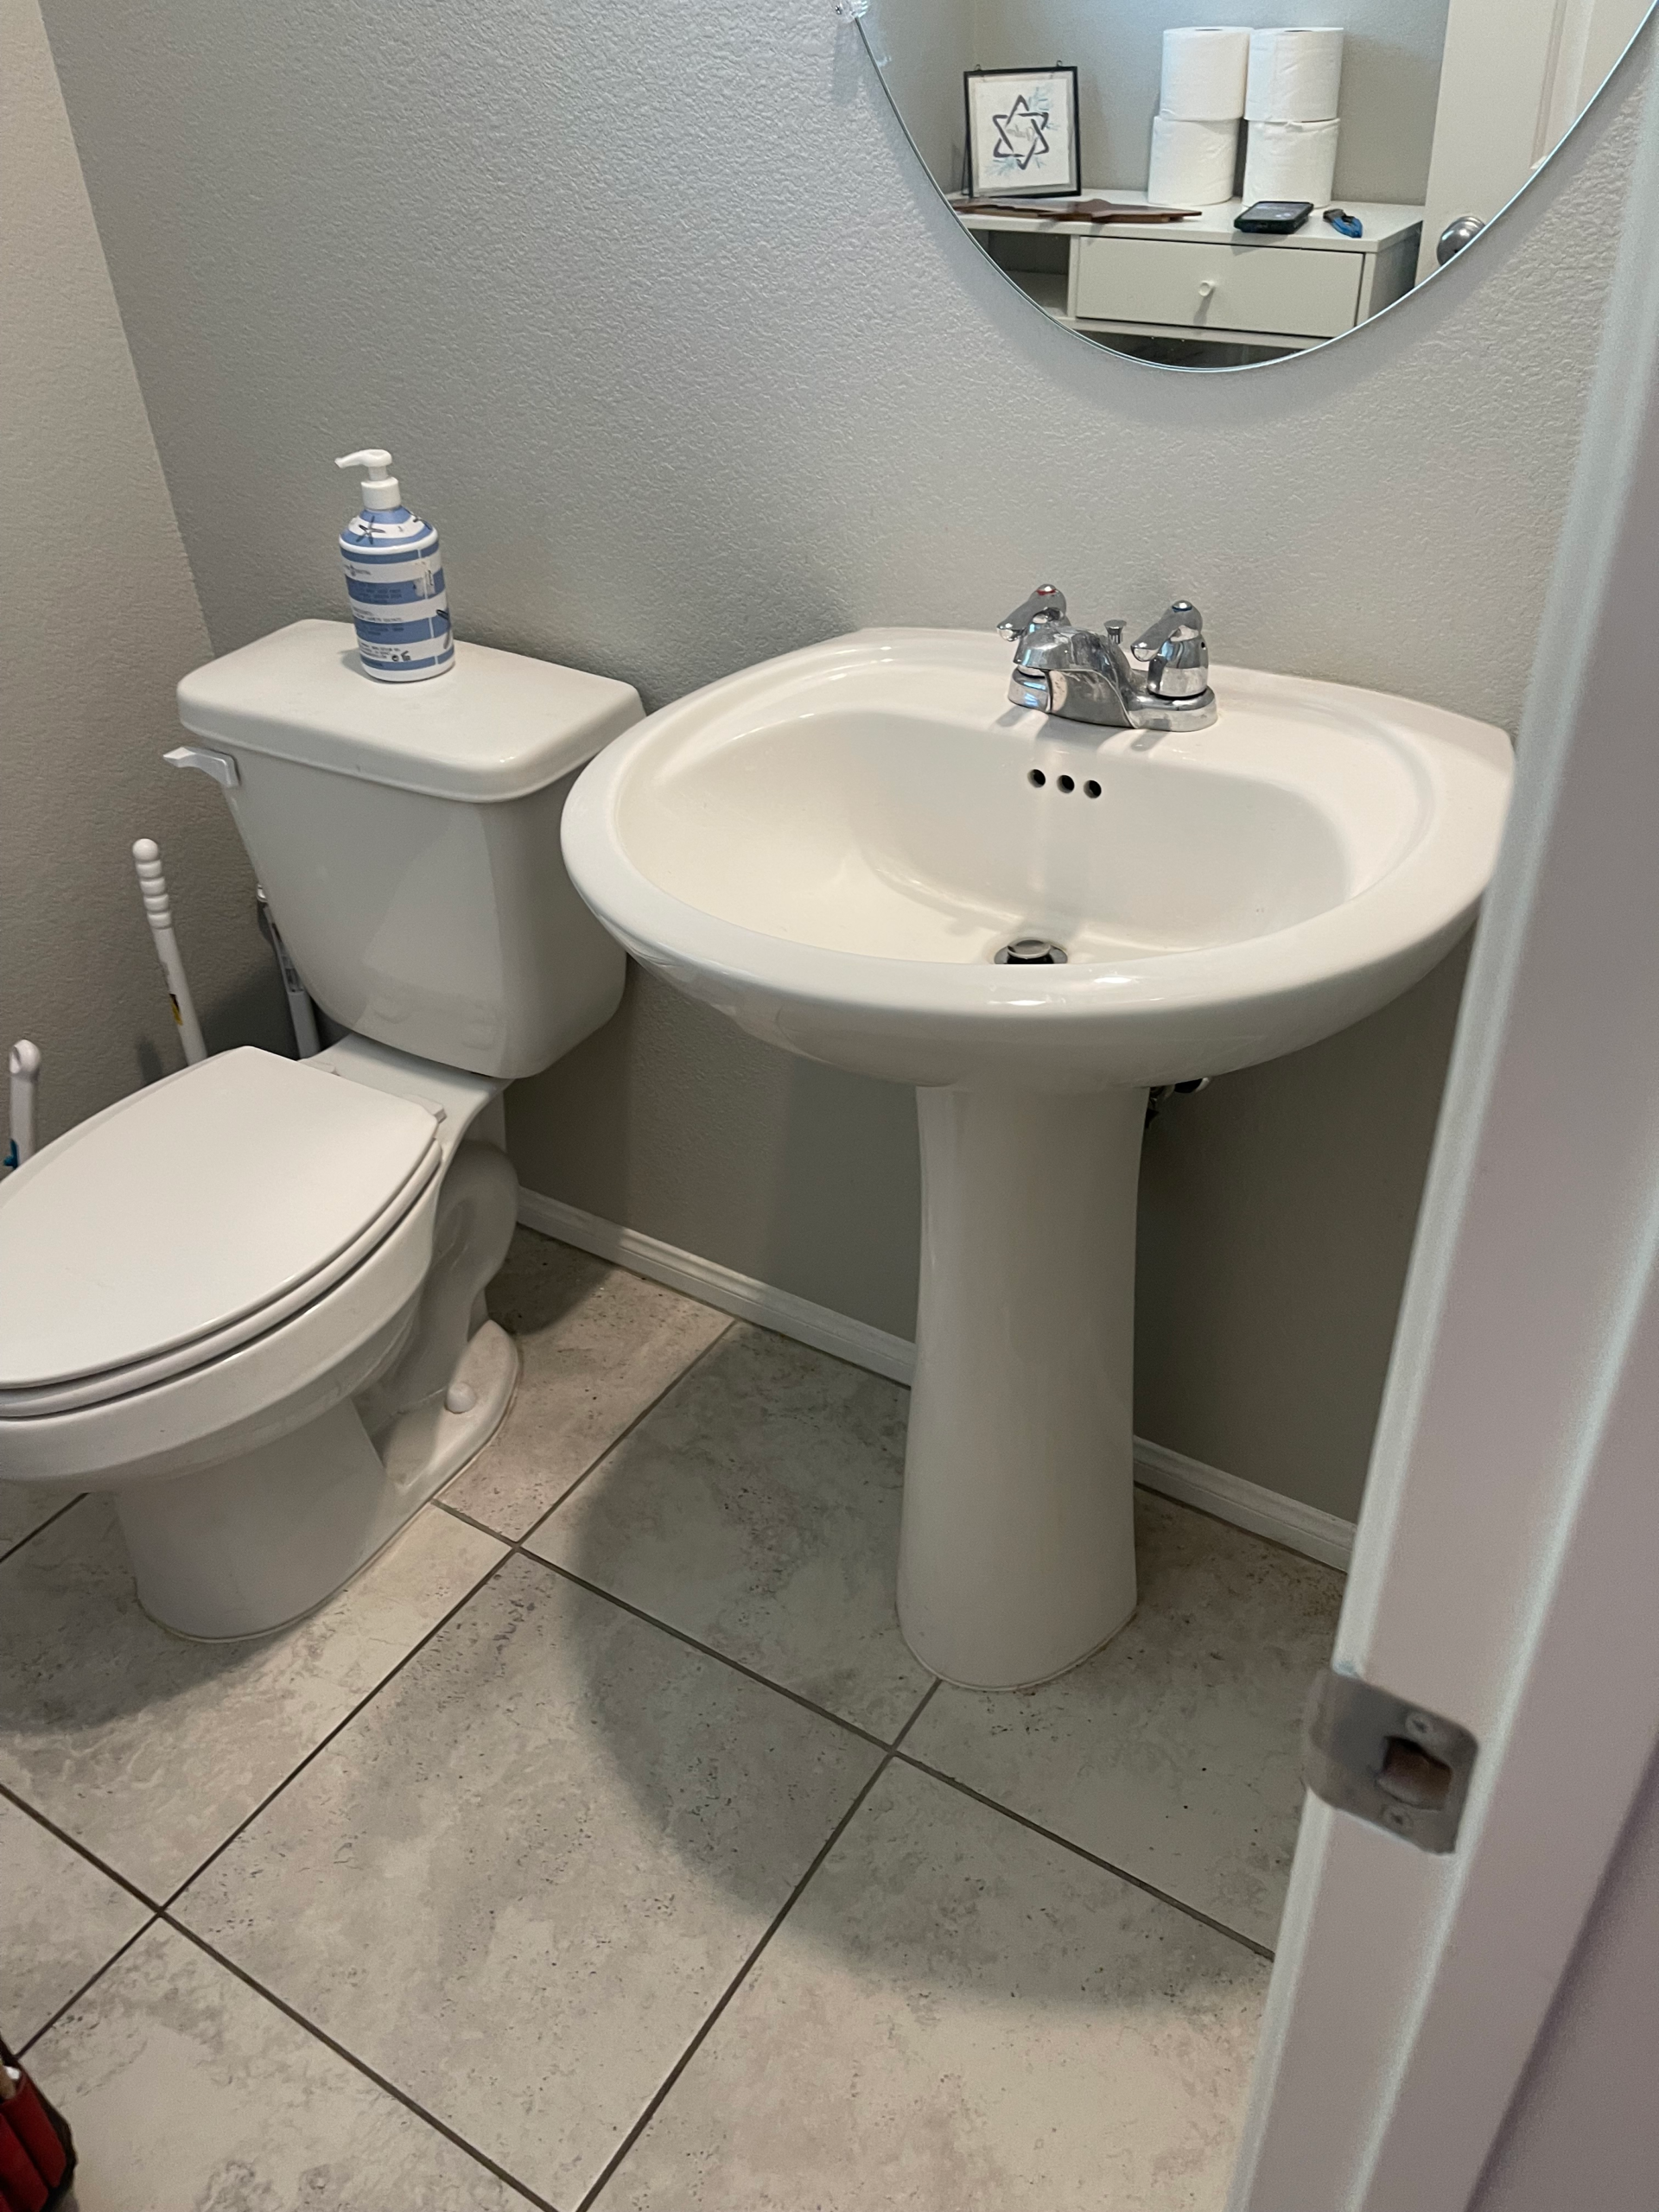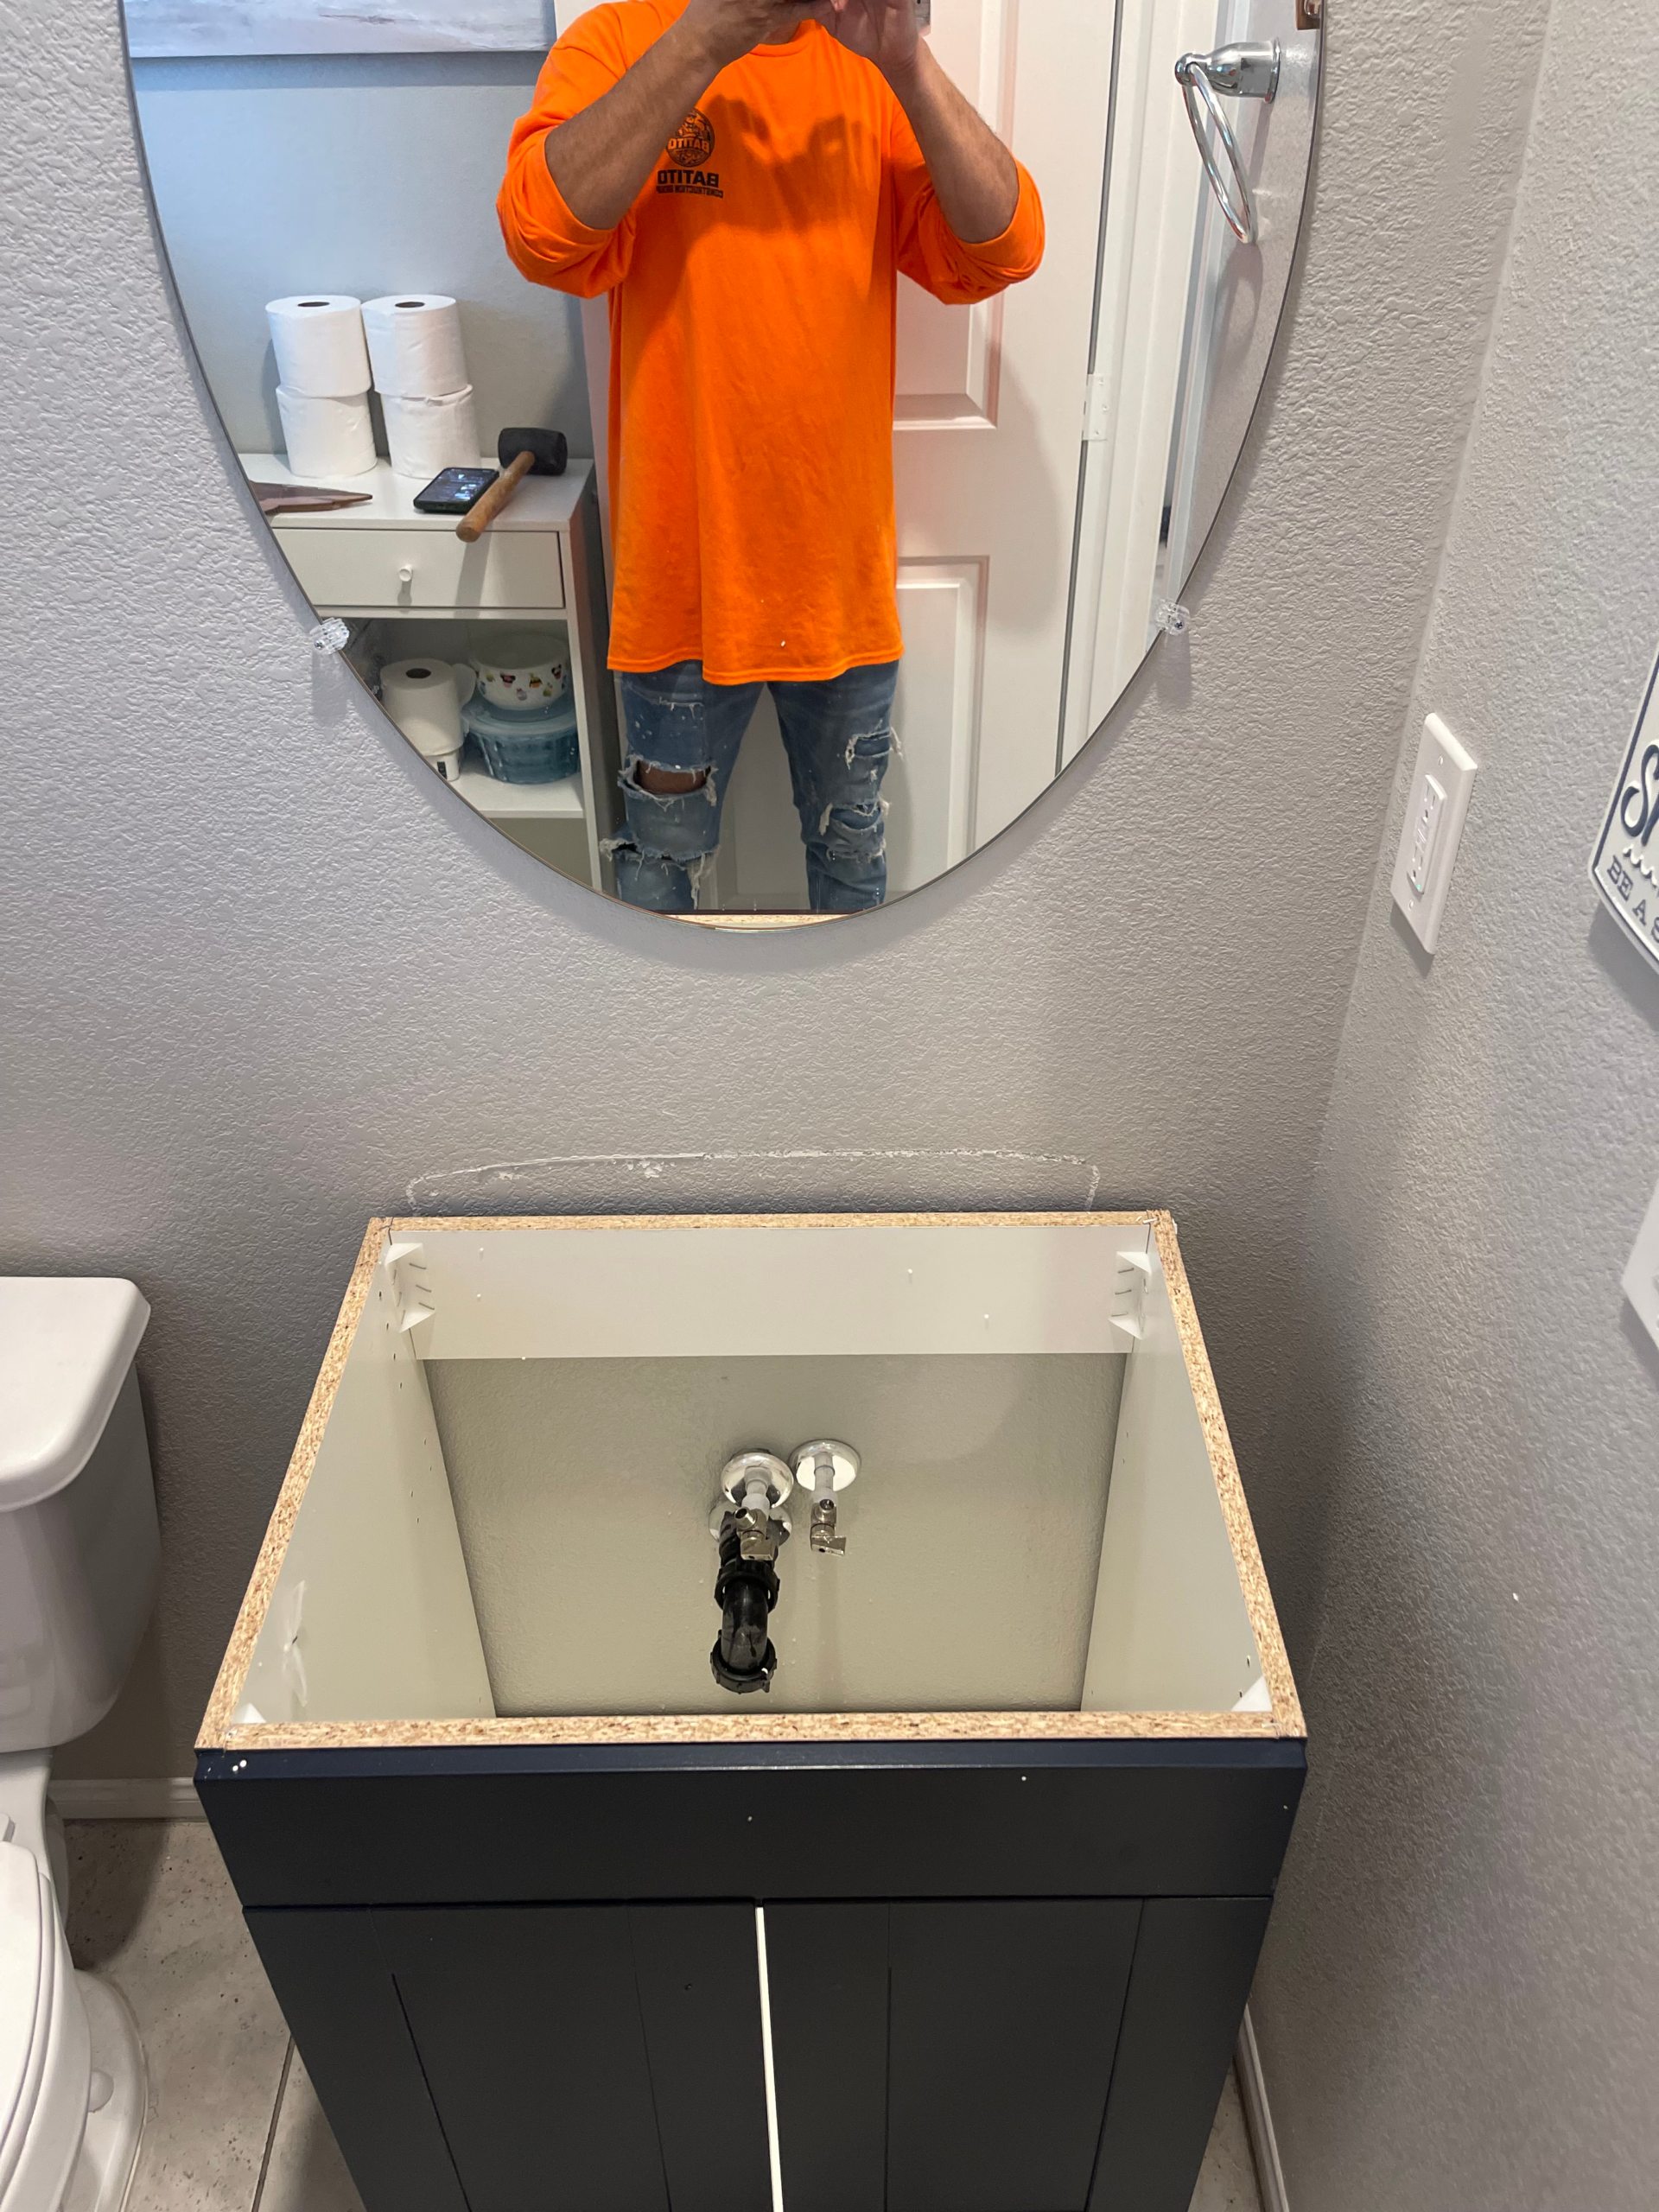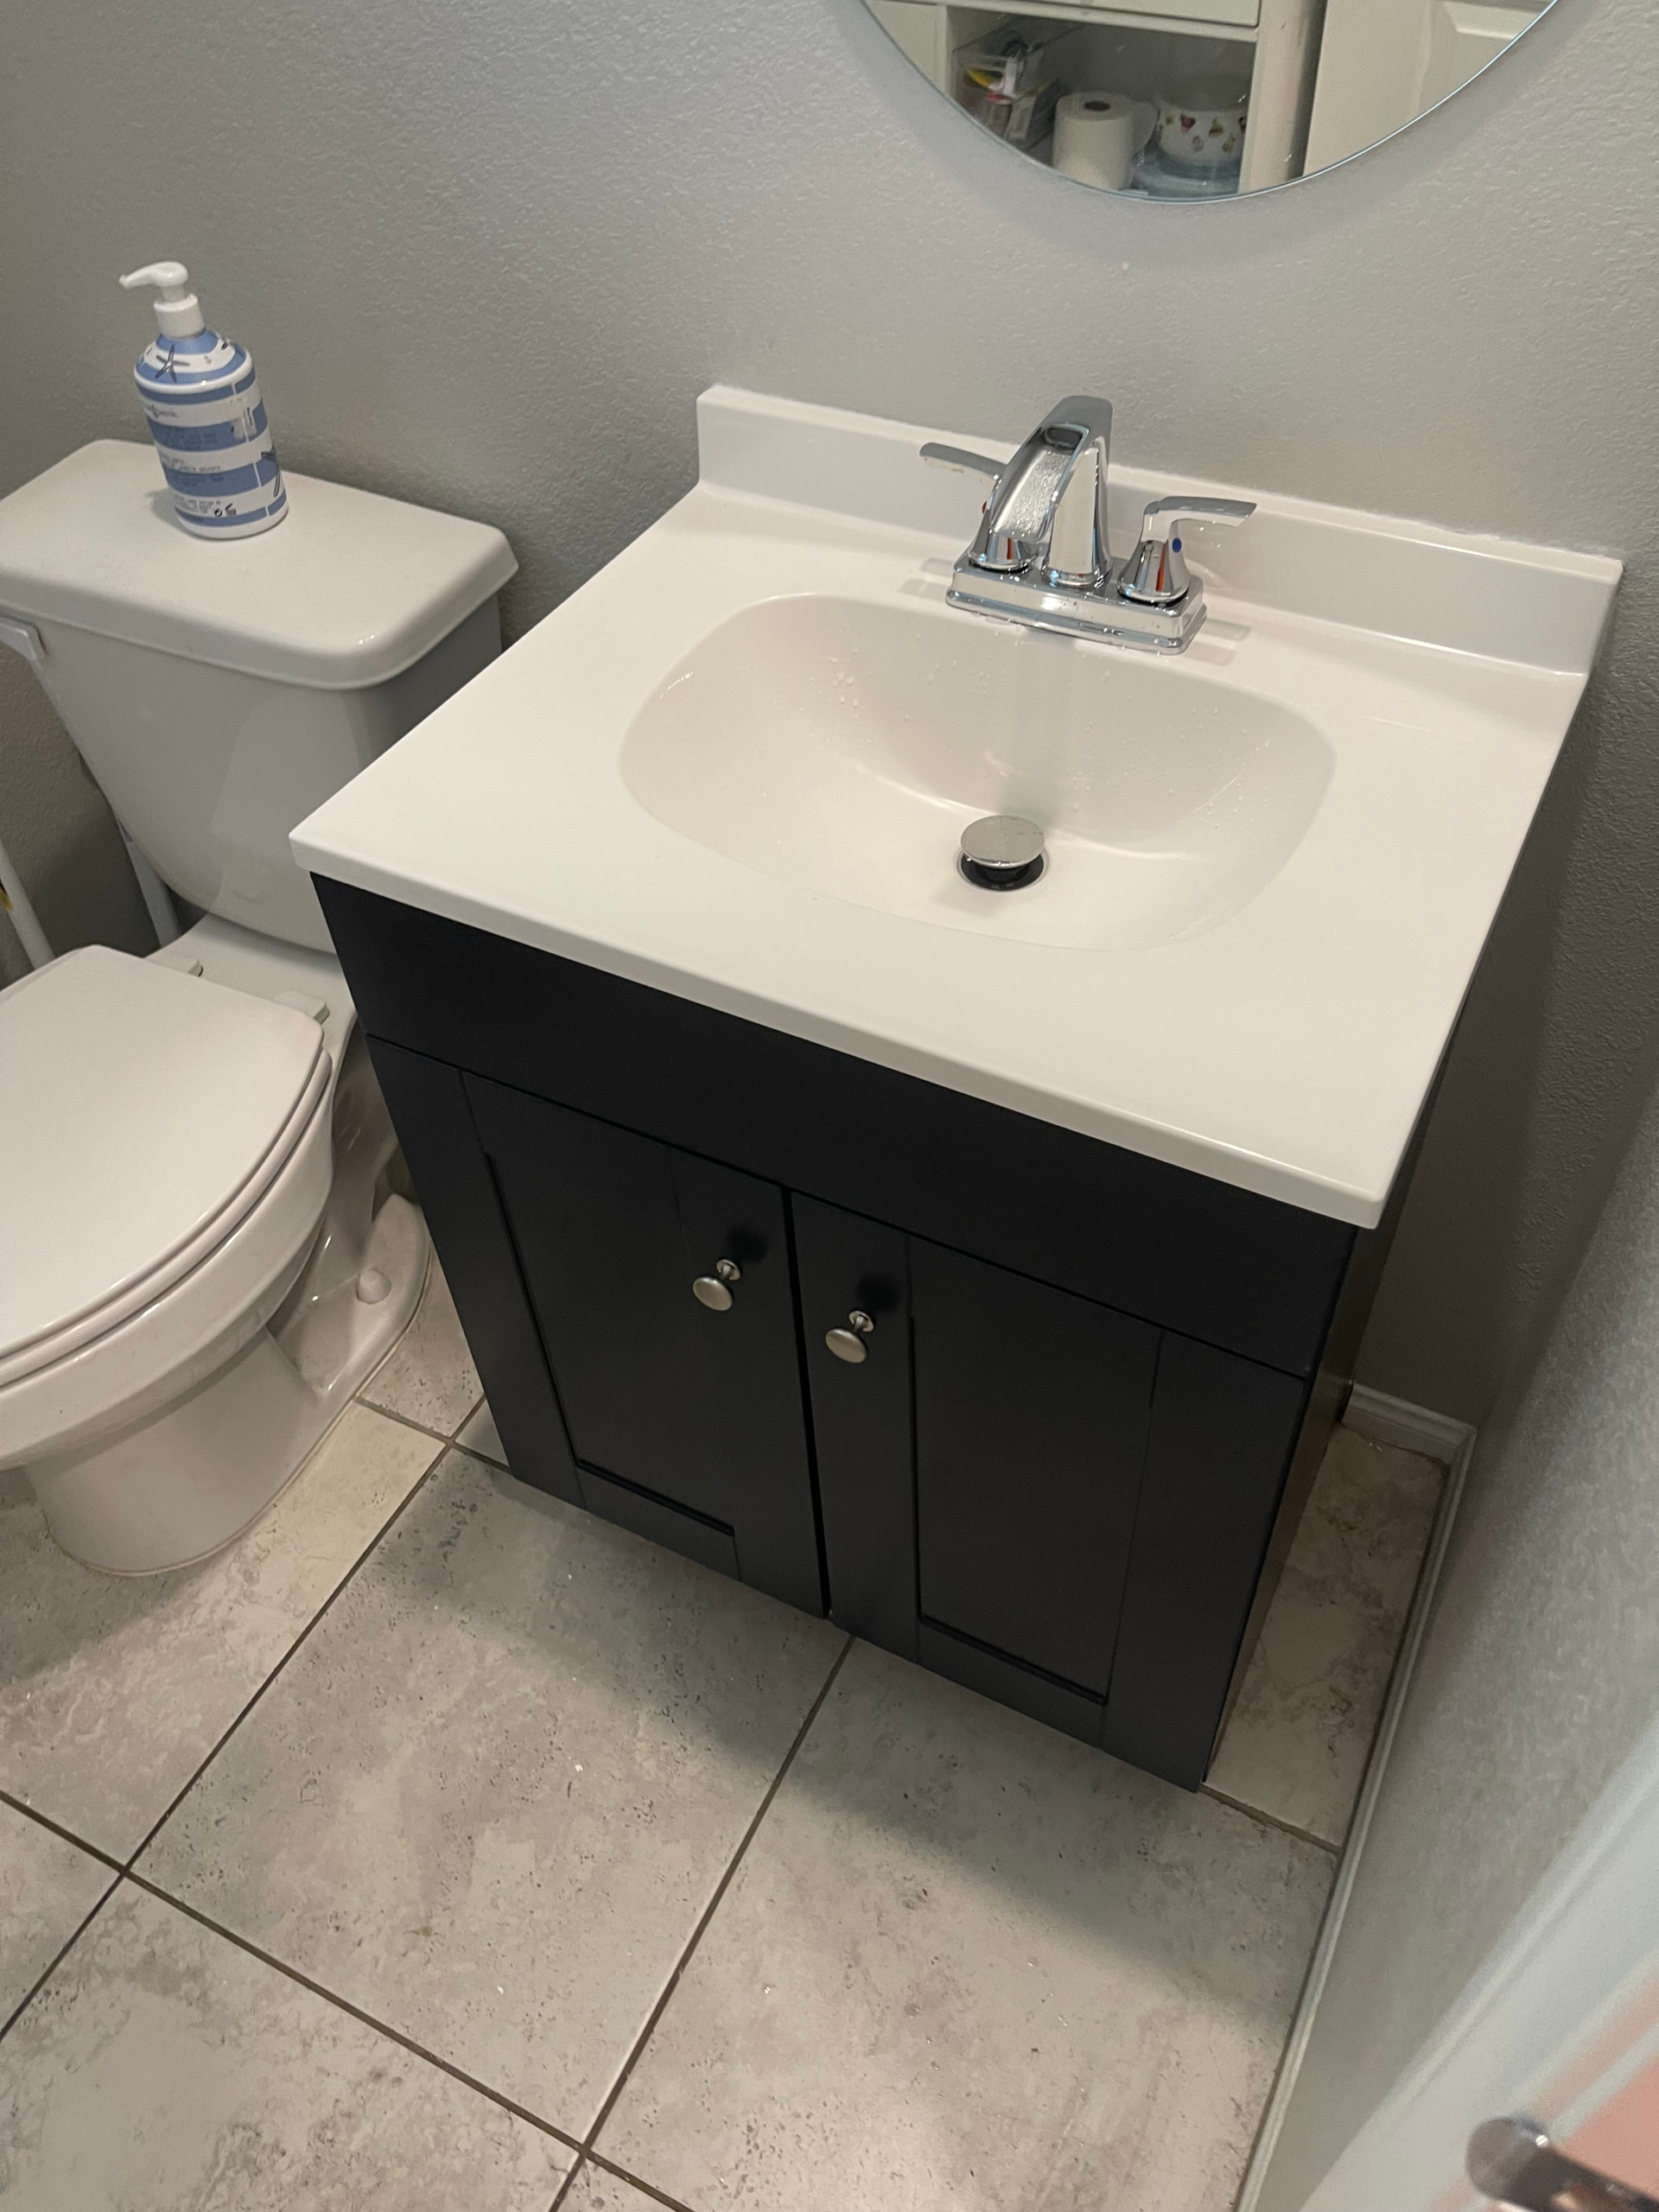
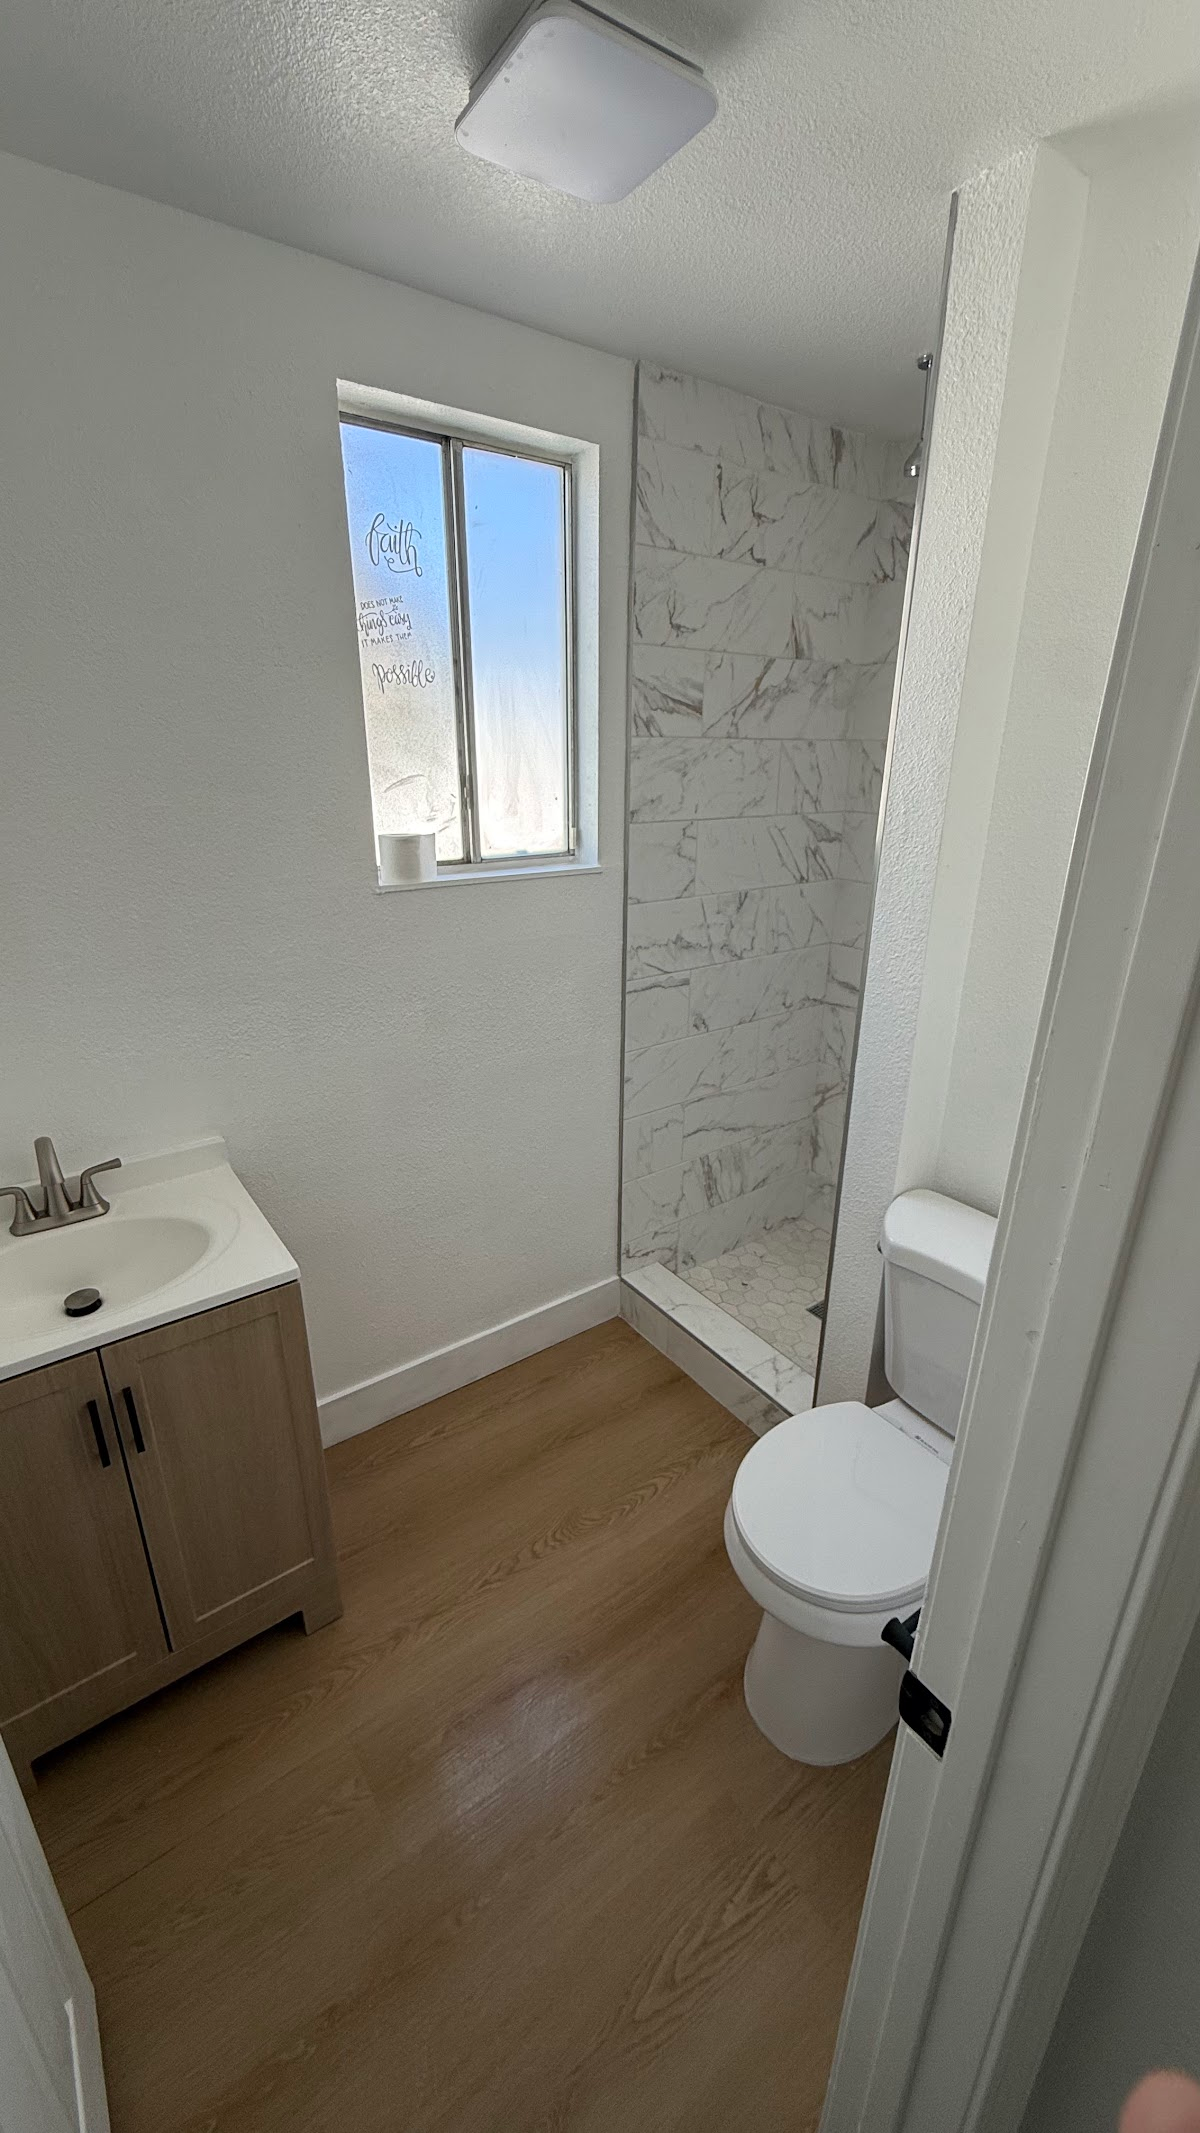
Toilet installation may sound simple: remove the old fixture, install the new one, and turn the water back on. But in an older Las Vegas condominium, a toilet replacement can uncover a worn shutoff valve, a damaged flange, a leaking supply line, or deteriorated flooring. These problems take additional time, materials, skill, and careful testing to resolve.
At Call 4 Handyman Las Vegas, we believe customers should understand the work before they approve it. This guide explains what is involved in a professional toilet installation and the replacement of the water shutoff valve behind or beneath the toilet, why a complete toilet installation job may cost $400 or more, and what our workmanship warranty covers.
A Real-World Situation: An Older Condominium Bathroom
Consider an elderly resident who needs a toilet replaced in her condominium. The existing toilet may have served the home for many years. Its shutoff valve might be stiff or corroded, and the connections may not have been disturbed since the original installation. What initially looks like a quick fixture swap becomes a more involved plumbing service once the technician inspects the components.
Condominium work deserves special attention. Building management may require advance notice, approved work hours, or coordination for a water shutoff. Shared plumbing systems mean a problem cannot always be isolated the same way as in a detached house. We aim to explain these considerations respectfully, without pressuring anyone to approve unnecessary repairs.
7 Essential Toilet Installation Steps
- Initial inspection: Check the toilet, visible leaks, flooring, water supply connection, shutoff valve, and stability of the fixture.
- Water isolation: Confirm the toilet supply can be shut off safely. If the stop valve does not work, determine whether building-level coordination is necessary.
- Old toilet removal: Disconnect the supply, remove the existing fixture, and protect the surrounding bathroom.
- Flange inspection: Inspect the connection at the floor for damage, looseness, improper height, or corrosion.
- Seal and mounting: Use a compatible new toilet seal and appropriate mounting hardware, then position and secure the replacement fixture.
- Supply connection: Replace or reconnect approved components, including a new supply line or shutoff valve when needed.
- Testing and cleanup: Test flushing, refill operation, stability, and visible connections for leaks; clean the work area and explain the results.
Every bathroom is different. Some toilet installation jobs are straightforward. Others require separate repairs that should be discussed and priced before proceeding.
Why the Shutoff Valve Under the Toilet Matters
The small valve on the wall or floor near the toilet is often called an angle stop or toilet shutoff valve. It controls the water entering the toilet. Over time, older valves can seize, leak at the stem, fail to close fully, or develop corrosion around their connections. A valve that seems functional until someone turns it can reveal problems during replacement.
Replacing the valve is not the same as simply connecting a new toilet. The technician must identify the pipe and connection type, isolate water, choose a compatible replacement, install it correctly, and test the joint under pressure. The condition of the existing pipe can affect the scope. In a condominium, the process may also depend on building access and water-shutoff rules.
We do not recommend forcing a seized valve. If a valve cannot safely isolate water, the next step is to arrange proper isolation and assess the repair rather than risk a leak.
What If the Toilet Flange Is Damaged?
The toilet flange is the fitting at the floor that connects the toilet to the drain and provides a secure mounting point. A flange can become cracked, corroded, loose, or improperly positioned. Warning signs include a rocking toilet, recurring moisture around the base, damaged mounting bolts, or previous unsuccessful repairs.
Toilet installation over a damaged flange may rock or leak even if the fixture itself is brand new. Depending on the problem, the work might involve approved flange repair hardware, correcting the mounting surface, or more extensive drain or subfloor repairs. Those conditions cannot always be confirmed until the old toilet is removed.
We explain any newly discovered flange problem and the proposed cost before adding repair work. Concealed water damage or structural deterioration may require a separate evaluation and scope.
Why Toilet Installation and Valve Replacement Can Cost $400+
Customers sometimes expect the entire project to cost the same as a basic service visit. However, a service-call fee is not the same as a complete installation price. A full job involves travel, evaluation, protecting the property, removing and handling the old fixture, installing and securing the new one, addressing the supply connection, leak testing, and cleanup.
When toilet installation also requires a shutoff valve replacement, the total can be $400 or more, depending on site conditions and the agreed scope. Additional flange repairs, pipe work, condominium water-shutoff coordination, difficult access, or damaged flooring can increase the price. A straightforward installation may cost less; a complex one may cost substantially more.
The exact amount should be based on the actual work required. We do not present $400 as a guaranteed flat rate or claim every bathroom needs the same repairs. Our goal is to give customers a clear explanation and obtain approval for the scope.
Labor Versus Materials: What Are You Paying For?
There are two different parts of toilet installation: materials and professional labor. Toilet installation materials may include the toilet, wax ring or other compatible seal, closet bolts, supply line, shutoff valve, fittings, and any approved flange-repair components. We purchase commonly available materials from suppliers such as Home Depot and install them; we do not manufacture the products.
Labor covers inspection, removal, correct fitting and assembly, safe connection, testing, and the time needed to address site-specific issues. A customer is paying not only for the minutes spent tightening connections, but also for careful workmanship and responsibility for the installation.
Our 90-Day Labor Warranty
Call 4 Handyman provides a 90-day warranty on our installation labor and workmanship for the agreed scope of work. If a problem results from our covered workmanship during that period, contact us so we can review it.
We do not provide a separate company warranty on materials or manufacturer defects. Products may carry their own manufacturer or retailer warranty, subject to that provider’s terms. Existing plumbing defects, unrelated leaks, misuse, and work outside the approved scope are not covered by our labor warranty. Specific written estimate or invoice terms govern the job.
Special Considerations for Seniors and Condominium Residents
For an older resident, a dependable, comfortable bathroom is especially important. We explain the process in plain language, keep the area as accessible as practical, and discuss the schedule so the resident knows when the toilet will be unavailable. We can also discuss whether the selected toilet’s seat height and layout suit the customer’s preferences without assuming everyone needs the same fixture.
Condominium residents should check whether the association requires approval, proof of insurance, advance shutoff notice, or a specific work window. If work affects common plumbing, coordination may be required. Any work that legally requires a licensed plumbing professional should be performed by an appropriately licensed professional.
Signs You Should Have Your Toilet and Valve Inspected
- Water appears around the base after flushing.
- The toilet rocks or shifts when used.
- The shutoff valve will not close fully or has visible corrosion.
- The supply connection drips or shows mineral buildup.
- The toilet refills unexpectedly or runs continuously.
- The floor near the toilet feels soft, swollen, or discolored.
Not all these signs require a new toilet installation. An inspection helps determine whether the appropriate solution is a minor component repair, valve replacement, flange repair, or a complete installation.
Frequently Asked Questions
Is replacing a toilet just a $100 service call?
No. A diagnostic or service-visit charge, where applicable, is different from the price of removal, installation, valve work, and testing. Ask for the full scope and total before approving the job.
Should I replace the shutoff valve when replacing a toilet?
Not automatically. If the existing valve is in good condition and operates correctly, replacement may not be necessary. A leaking, seized, or unreliable valve should be evaluated before the new toilet is connected.
Can you tell if the flange is broken before removing the toilet?
Sometimes there are warning signs, but the full condition of the flange is often visible only after the old toilet is lifted. Additional repairs should be discussed with the customer first.
Does the 90-day warranty cover a defective toilet purchased at Home Depot?
Our 90-day warranty covers qualifying installation workmanship, not product manufacturing defects. Material warranty questions are handled under applicable manufacturer or retailer terms.
Do condominium residents need to contact their HOA?
Requirements vary. Contact building management if the work may involve a shared water shutoff, common piping, work-hour restrictions, or building approval.
Related Home Repair Guides
For more information, read our guides to common home repairs in Las Vegas, handyman services in Las Vegas, and signs of hidden water damage. If you are improving the whole bathroom, see our bathroom vanity installation project.
Request a Toilet Installation Estimate in Las Vegas
Need a toilet installed or an old shutoff valve inspected in Las Vegas, Henderson, or North Las Vegas? Call Call 4 Handyman Las Vegas at 702-752-0758. Tell us whether the toilet is already purchased, whether the shutoff valve works, and whether the property is a condominium. We can discuss the likely scope and what information is needed for an estimate.
Licensed, Insured, Bonded. Clear explanations, practical repairs, and a 90-day labor workmanship warranty on covered installation work.
Prepare for Toilet Installation Without Unnecessary Delays
Before booking toilet installation, confirm whether you are supplying the fixture or asking the team to source it. Keep the model number and product information available. A toilet that looks suitable in a store may have different dimensions, mounting details, or supply requirements from the existing fixture. Ask which measurements need checking before purchase, especially in a small condominium bathroom. A clear photograph of the current toilet and water connection can help identify questions, but it does not replace an on-site assessment of concealed conditions.
For toilet installation in an occupied home, discuss how long the bathroom may be unavailable and whether another working toilet is accessible. Clear personal items from the work area and explain parking, stairs, elevators, gate codes, and building access arrangements directly to the service team. Keep pets away from tools and the removal route. If management requires proof of insurance or a scheduled water shutoff, start that coordination early. The goal is a predictable visit with enough time to inspect, install, and test the fixture.
Choose a Fixture That Fits the Existing Bathroom
Toilet installation planning starts with the actual space. Confirm the rough-in measurement, door clearance, available room beside the bowl, and the location of the supply connection. Consider seat shape and height based on the user’s preferences and needs. Check the manufacturer’s instructions for the exact model instead of assuming every toilet has the same requirements. If your preferred fixture changes the plumbing layout, ask for that work to be priced separately before ordering. Returning an unsuitable fixture can delay the whole project.
Water efficiency is another useful consideration. The EPA WaterSense program offers information about water-efficient products and labeled toilets. Compare efficiency together with fit, product quality, parts availability, and the manufacturer’s warranty. Toilet installation should follow the instructions for the selected product and the applicable requirements for the work. Buying a particular fixture does not remove the need to check the flange, mounting surface, and supply valve. Those existing parts can determine whether the installation is straightforward or requires further repair.
Compare Toilet Installation Estimates by Scope
Ask each estimate to identify fixture supply, old-toilet removal, disposal, new connections, installation materials, testing, and cleanup. Check whether the quoted toilet installation price assumes a working shutoff valve and a serviceable flange. A low initial price may exclude valve replacement, access problems, or concealed damage. A higher price may include work another estimate leaves out. Compare the written inclusions rather than the headline amount. Ask how new findings will be documented and approved so there is no confusion when the old fixture is removed.
A toilet installation estimate should also explain any separate trade work. Damaged drain piping, common building plumbing, structural floor damage, or other conditions may need a different specialist or additional approvals. Ask who is arranging that work and whether it affects the schedule. Keep the estimate and any approved changes together. Our discussion of $400-plus jobs describes possible combined installation and valve work; it is not a promise that every home needs that scope or a guaranteed price for an unseen bathroom.
Check the Finished Toilet Installation
At the end of toilet installation, review the fixture with the installer. Ask whether it is secure, how the shutoff operates, and whether the visible connections remained dry during testing. Look at the cleanup and confirm any remaining work that was excluded from the approved scope. Keep the invoice and product paperwork. If you notice moisture, movement, unusual refill behavior, or another concern afterward, describe the symptom and timing when you contact the team. Early reporting helps distinguish an installation issue from an unrelated plumbing problem.
Do not keep using a toilet that is visibly leaking or moving without having the condition assessed. Avoid tightening fasteners yourself as a way to solve unexplained rocking; the cause may involve the flange or mounting surface. Toilet installation involves several connected components, and a new fixture cannot correct every pre-existing defect. For covered workmanship concerns within the stated 90-day labor warranty, contact us with the invoice information and a description of the issue. Written job terms govern what is included and how a concern is reviewed.
Coordinate Related Bathroom Repairs
If toilet installation uncovers wet flooring or wall damage, plan the next steps before cosmetic repairs. Review our plumbing repair services, water damage repair, and flooring services for related work. Address the source of water before covering damaged materials. Ask what needs drying, replacement, or further evaluation and which tasks can be scheduled together. A clear sequence can reduce repeated visits and protect the finished bathroom.
For a broader repair list, explore our services, Henderson handyman services, and the estimate request page. When requesting toilet installation, explain whether the fixture is purchased, whether the valve works, and whether building management controls the water supply. Include photos taken safely from the bathroom and mention any visible floor damage. We can then explain what needs checking before a final scope is agreed.
What information should I keep after toilet installation?
Keep the model number, purchase receipt, installation invoice, and any written warranty information in one place. Photograph the completed bathroom and retain any photos documenting repairs beneath the old fixture. Note the service date and the work included in the approved estimate. If building management coordinated a water shutoff, keep that correspondence as well. These records make later maintenance easier and help a future service provider understand which parts were replaced. For toilet installation concerns, explain the actual symptom rather than guessing which component failed. A clear description, timing, and safe photographs help the team decide what needs inspection next.
Related bathroom fixture projects from our photo library