A professional interior painting job is rarely just about applying a fresh coat of paint. On many Las Vegas homes, the best results come from careful preparation first: repairing drywall, matching texture, sanding uneven areas, protecting surrounding surfaces, priming repairs, and then applying the finish coats. That preparation is what helps the final paint look smooth, consistent, and complete.
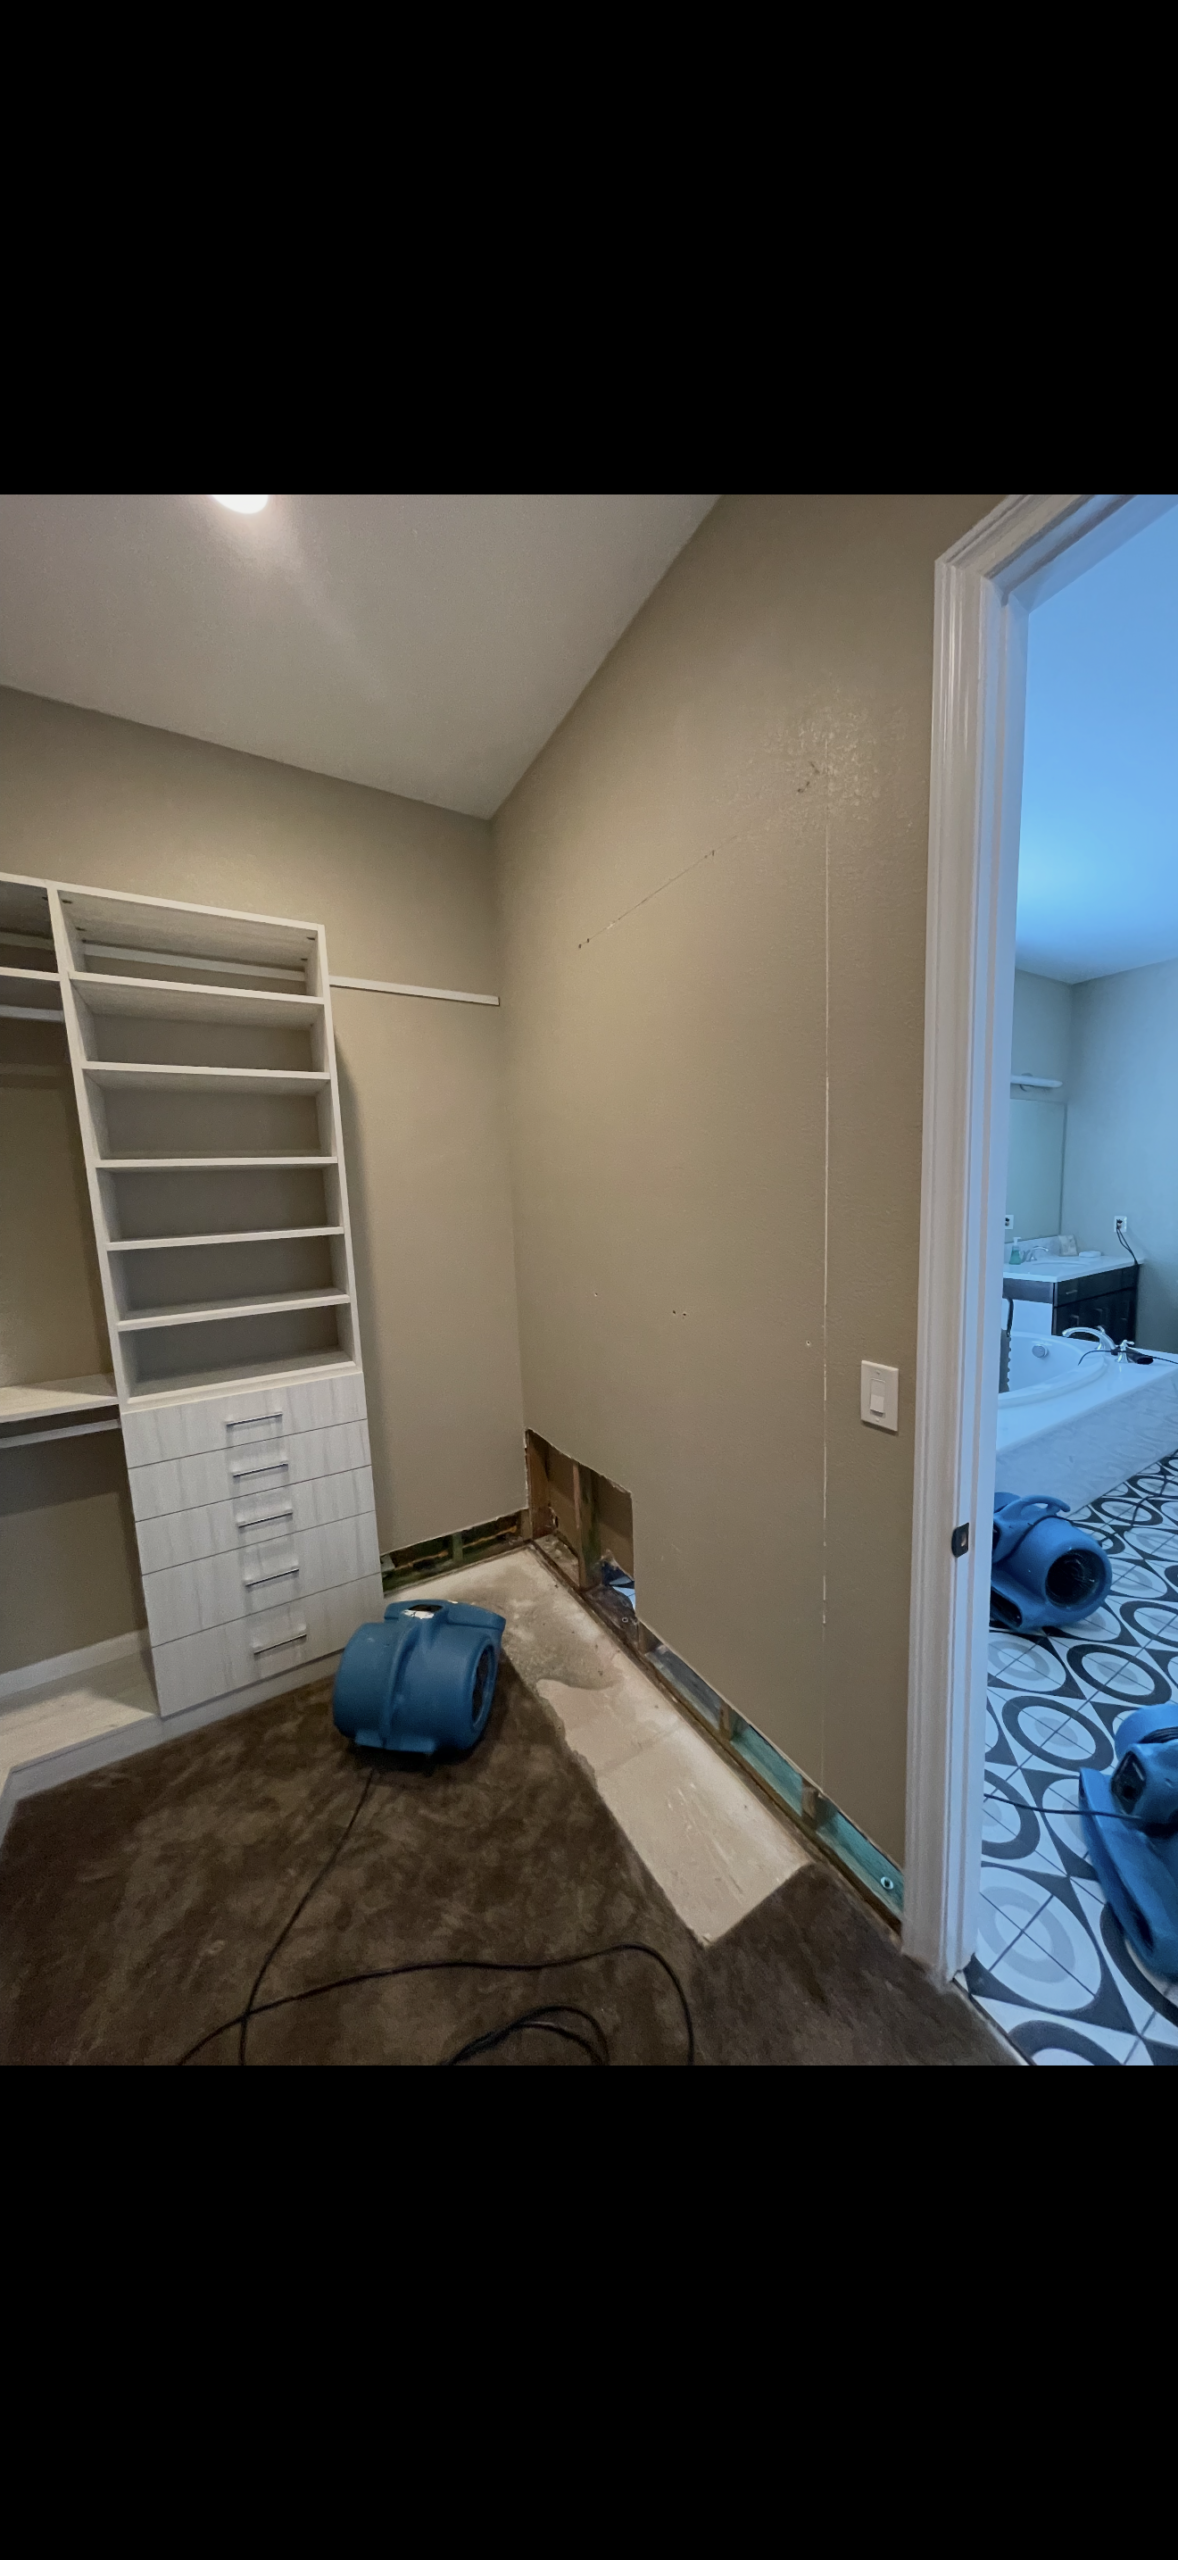
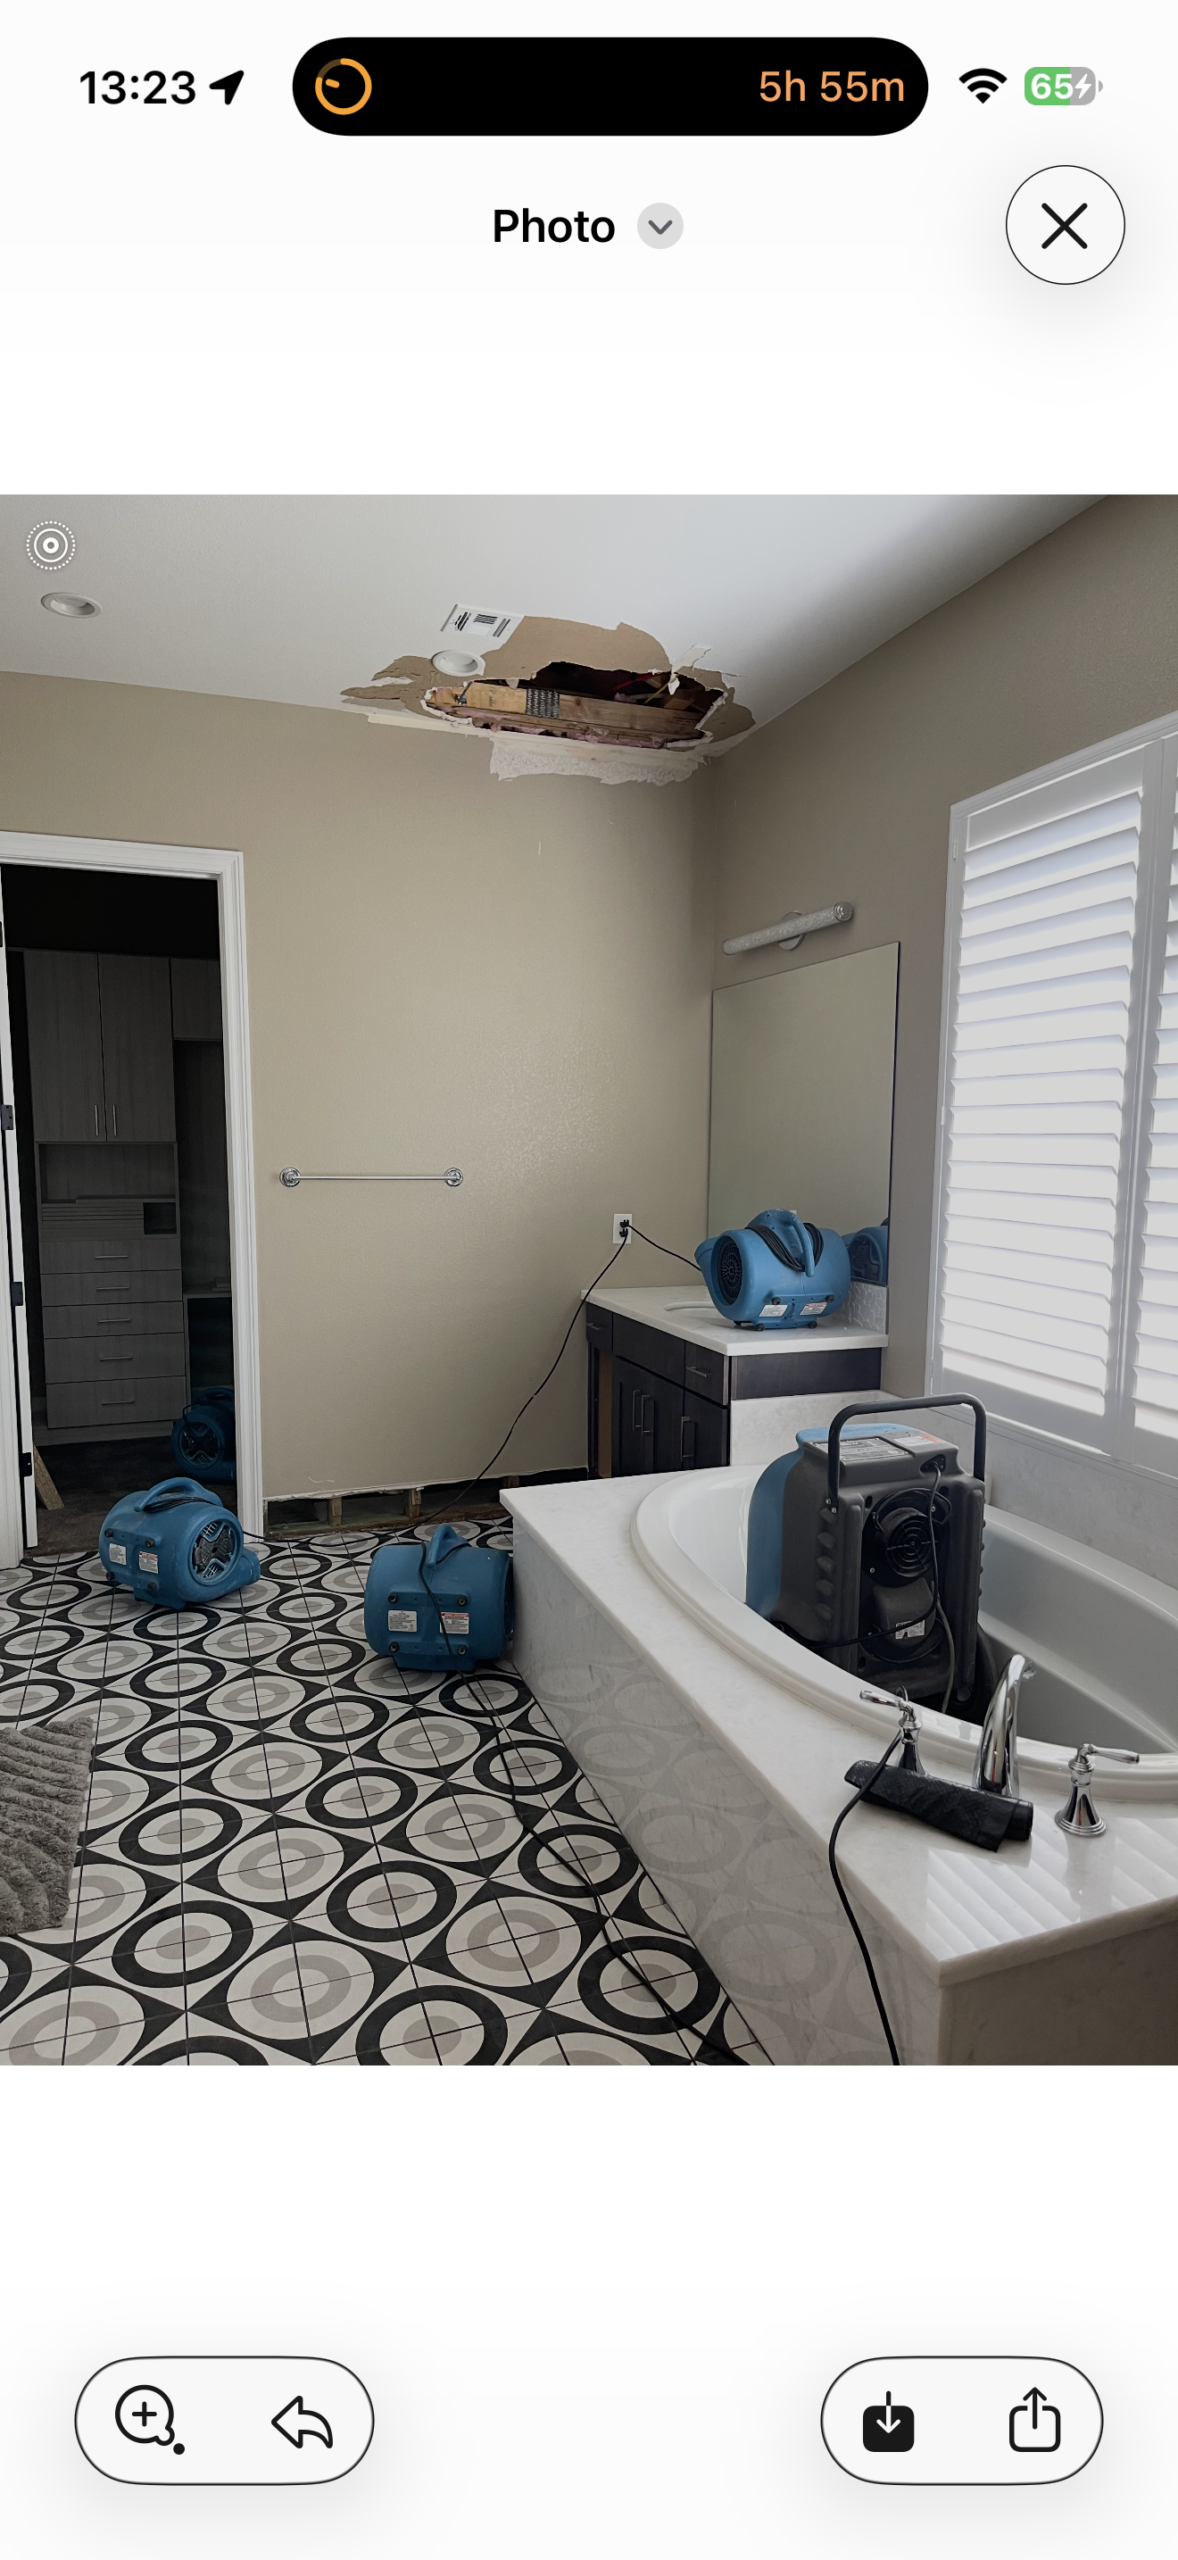
On a recent Call 4 Handyman project in Las Vegas, the work involved more than a simple repaint. The area needed drywall repairs, surface preparation, texture work, ceiling and wall painting, and finishing around trim and baseboards. This type of project is a good example of why homeowners often get better results when the same team handles the repair work and the painting together.
Why Painting Preparation Matters in Las Vegas Homes
Interior walls and ceilings can show every imperfection once new paint is applied. Small dents, old patches, cracks, uneven texture, damaged drywall, and poorly sanded repairs may become even more noticeable under fresh paint—especially in rooms with bright lighting or large windows.
Before painting, we look at the condition of the surface and determine what needs to be corrected. Depending on the room, preparation may include patching holes, replacing damaged drywall, applying joint compound, sanding, matching orange-peel or knockdown texture, caulking gaps, and cleaning dust from the surface.
This is especially important after plumbing work, water damage repairs, remodeling, electrical access cuts, or other home repairs. A wall may technically be “closed,” but if the texture and finish are not blended correctly, the repair can still stand out.
Step 1: Repairing the Drywall Before Painting
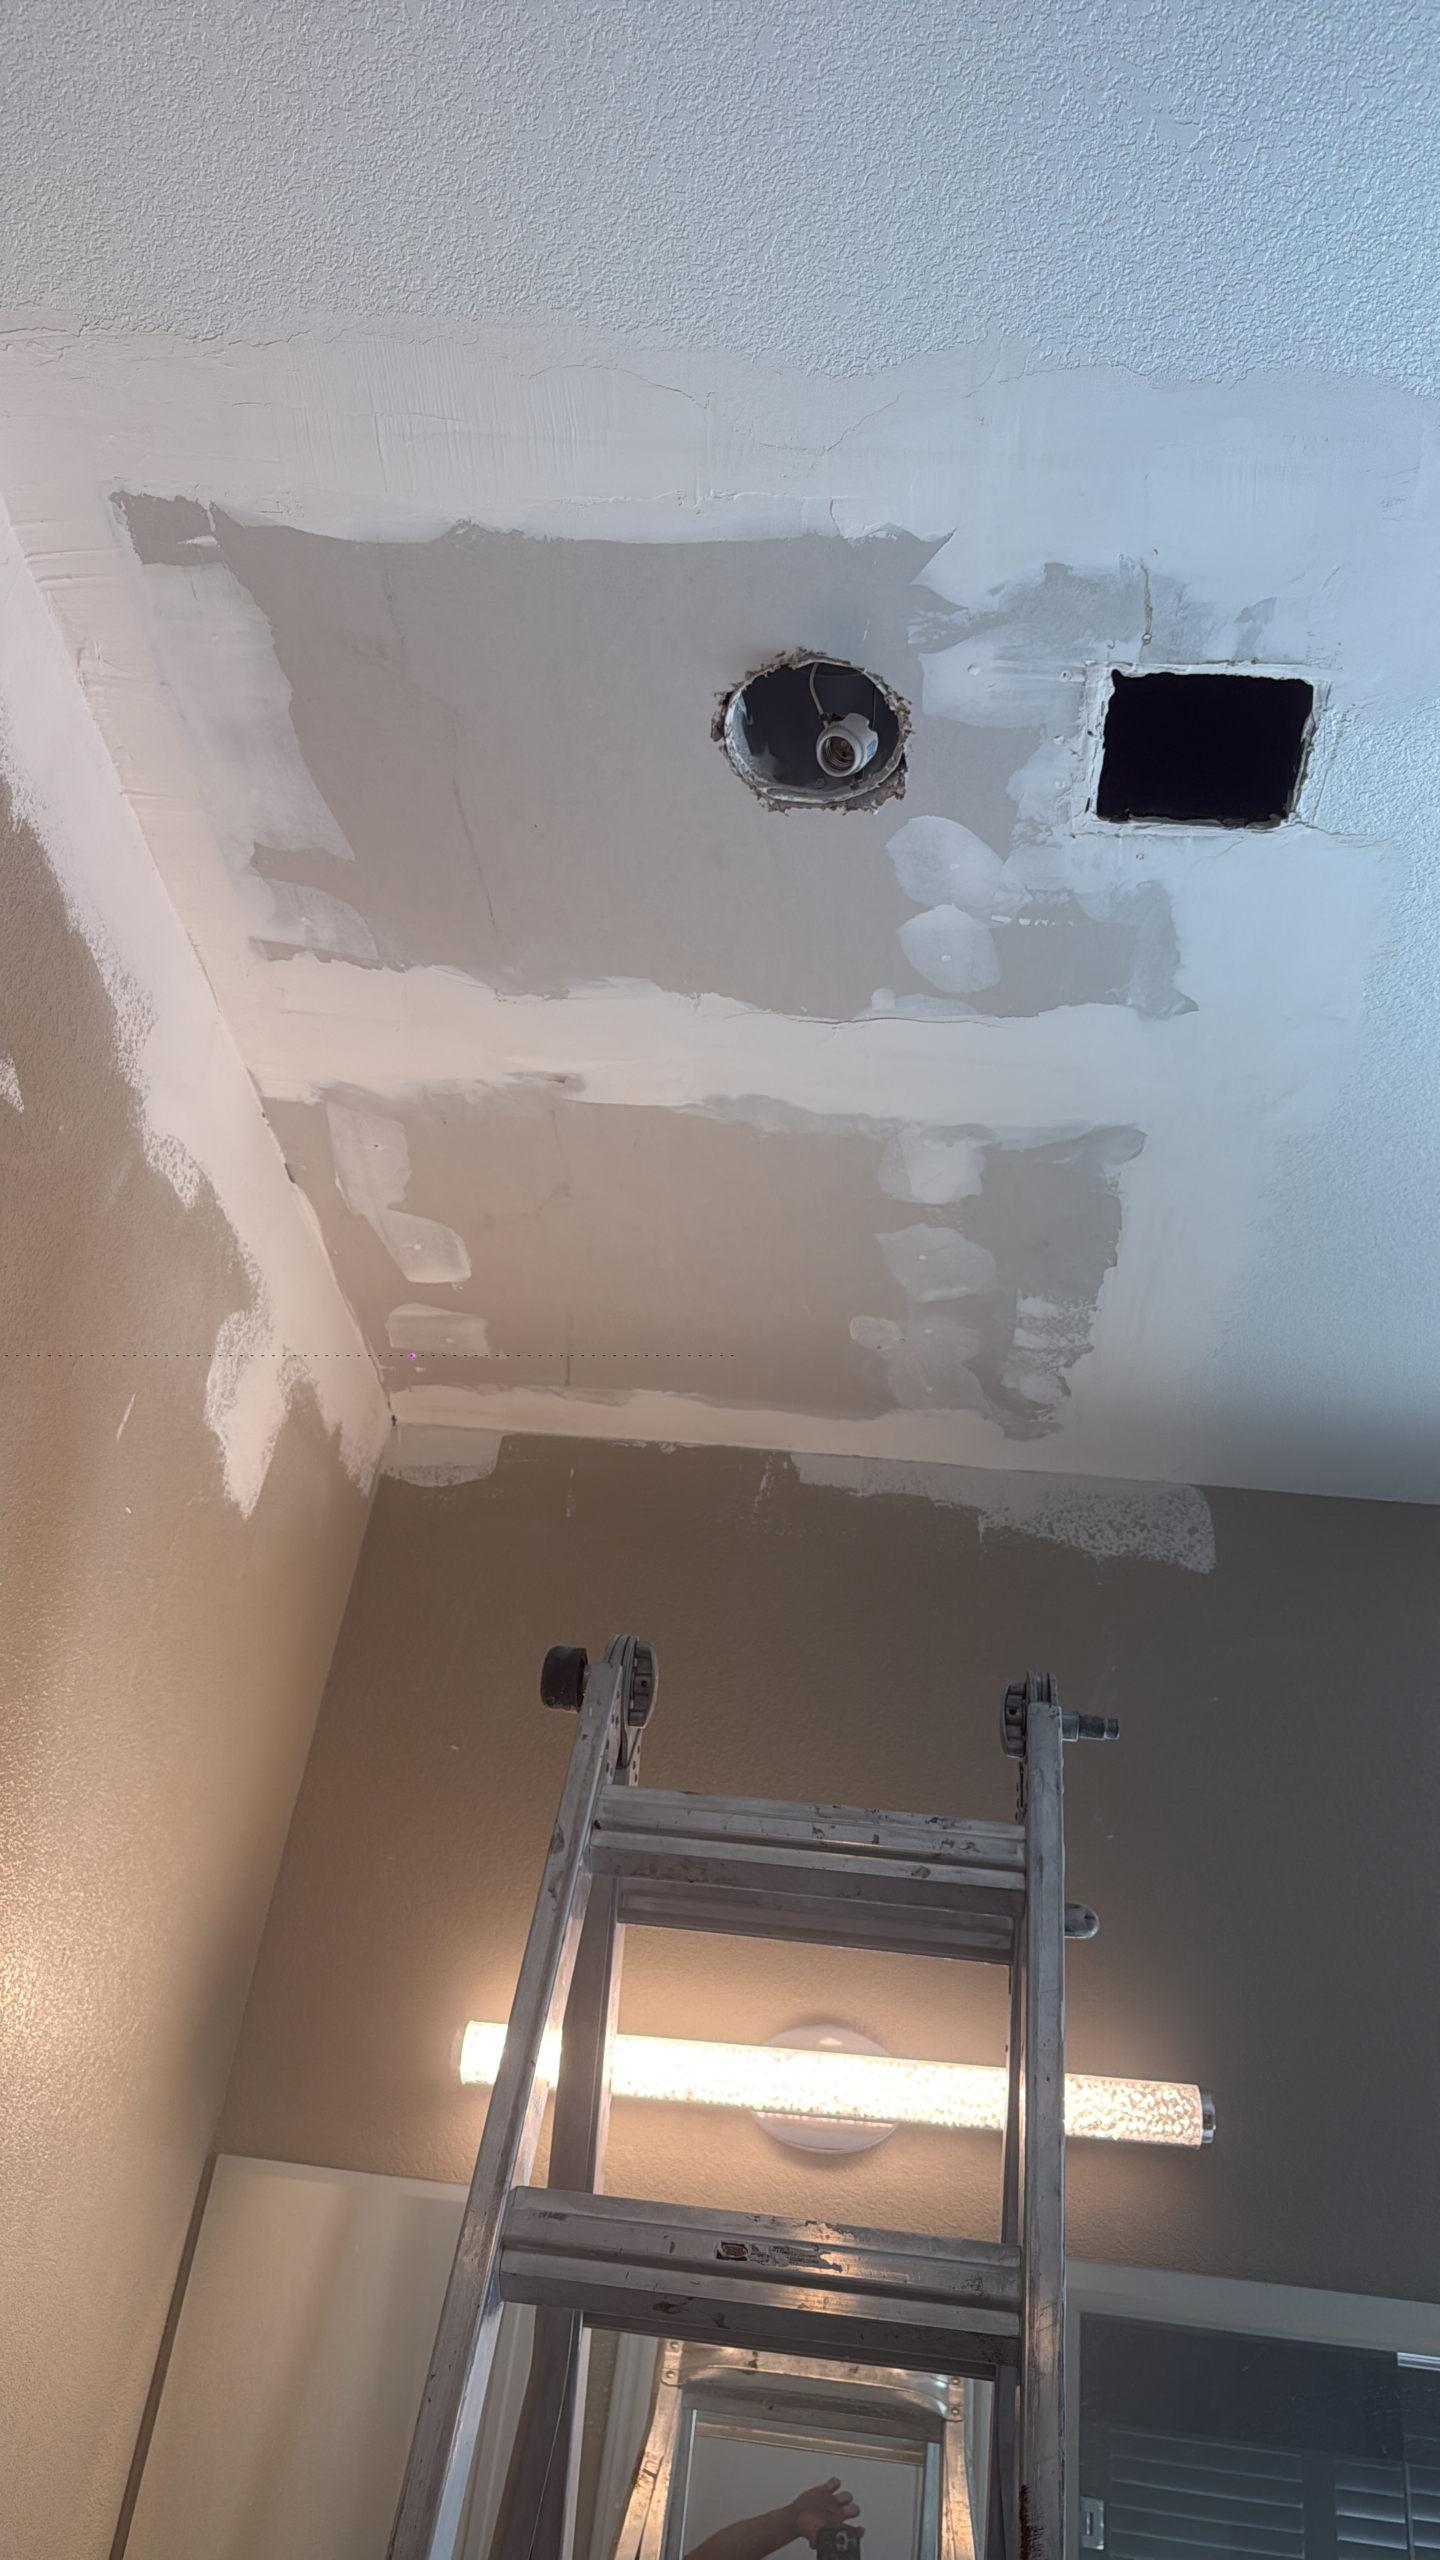
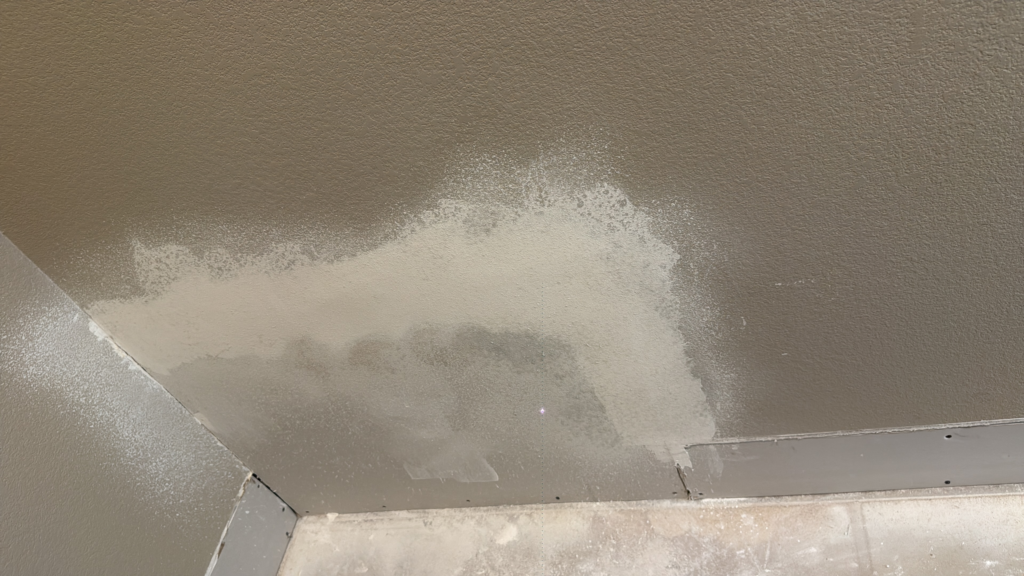
For this Las Vegas painting project, the first priority was getting the wall and ceiling surfaces ready for paint. Damaged or opened drywall areas were repaired and finished before any final coating was applied.
Drywall repair typically involves installing or securing the proper material, applying joint compound in multiple stages, allowing the compound to dry, and sanding the repair so it transitions smoothly into the surrounding surface. Rushing this stage can leave ridges, visible seams, pinholes, or uneven areas that paint cannot hide.
If your home has wall damage, our drywall repair Las Vegas service can be coordinated with painting so the repair is completed as one continuous project.
Step 2: Matching the Existing Wall Texture
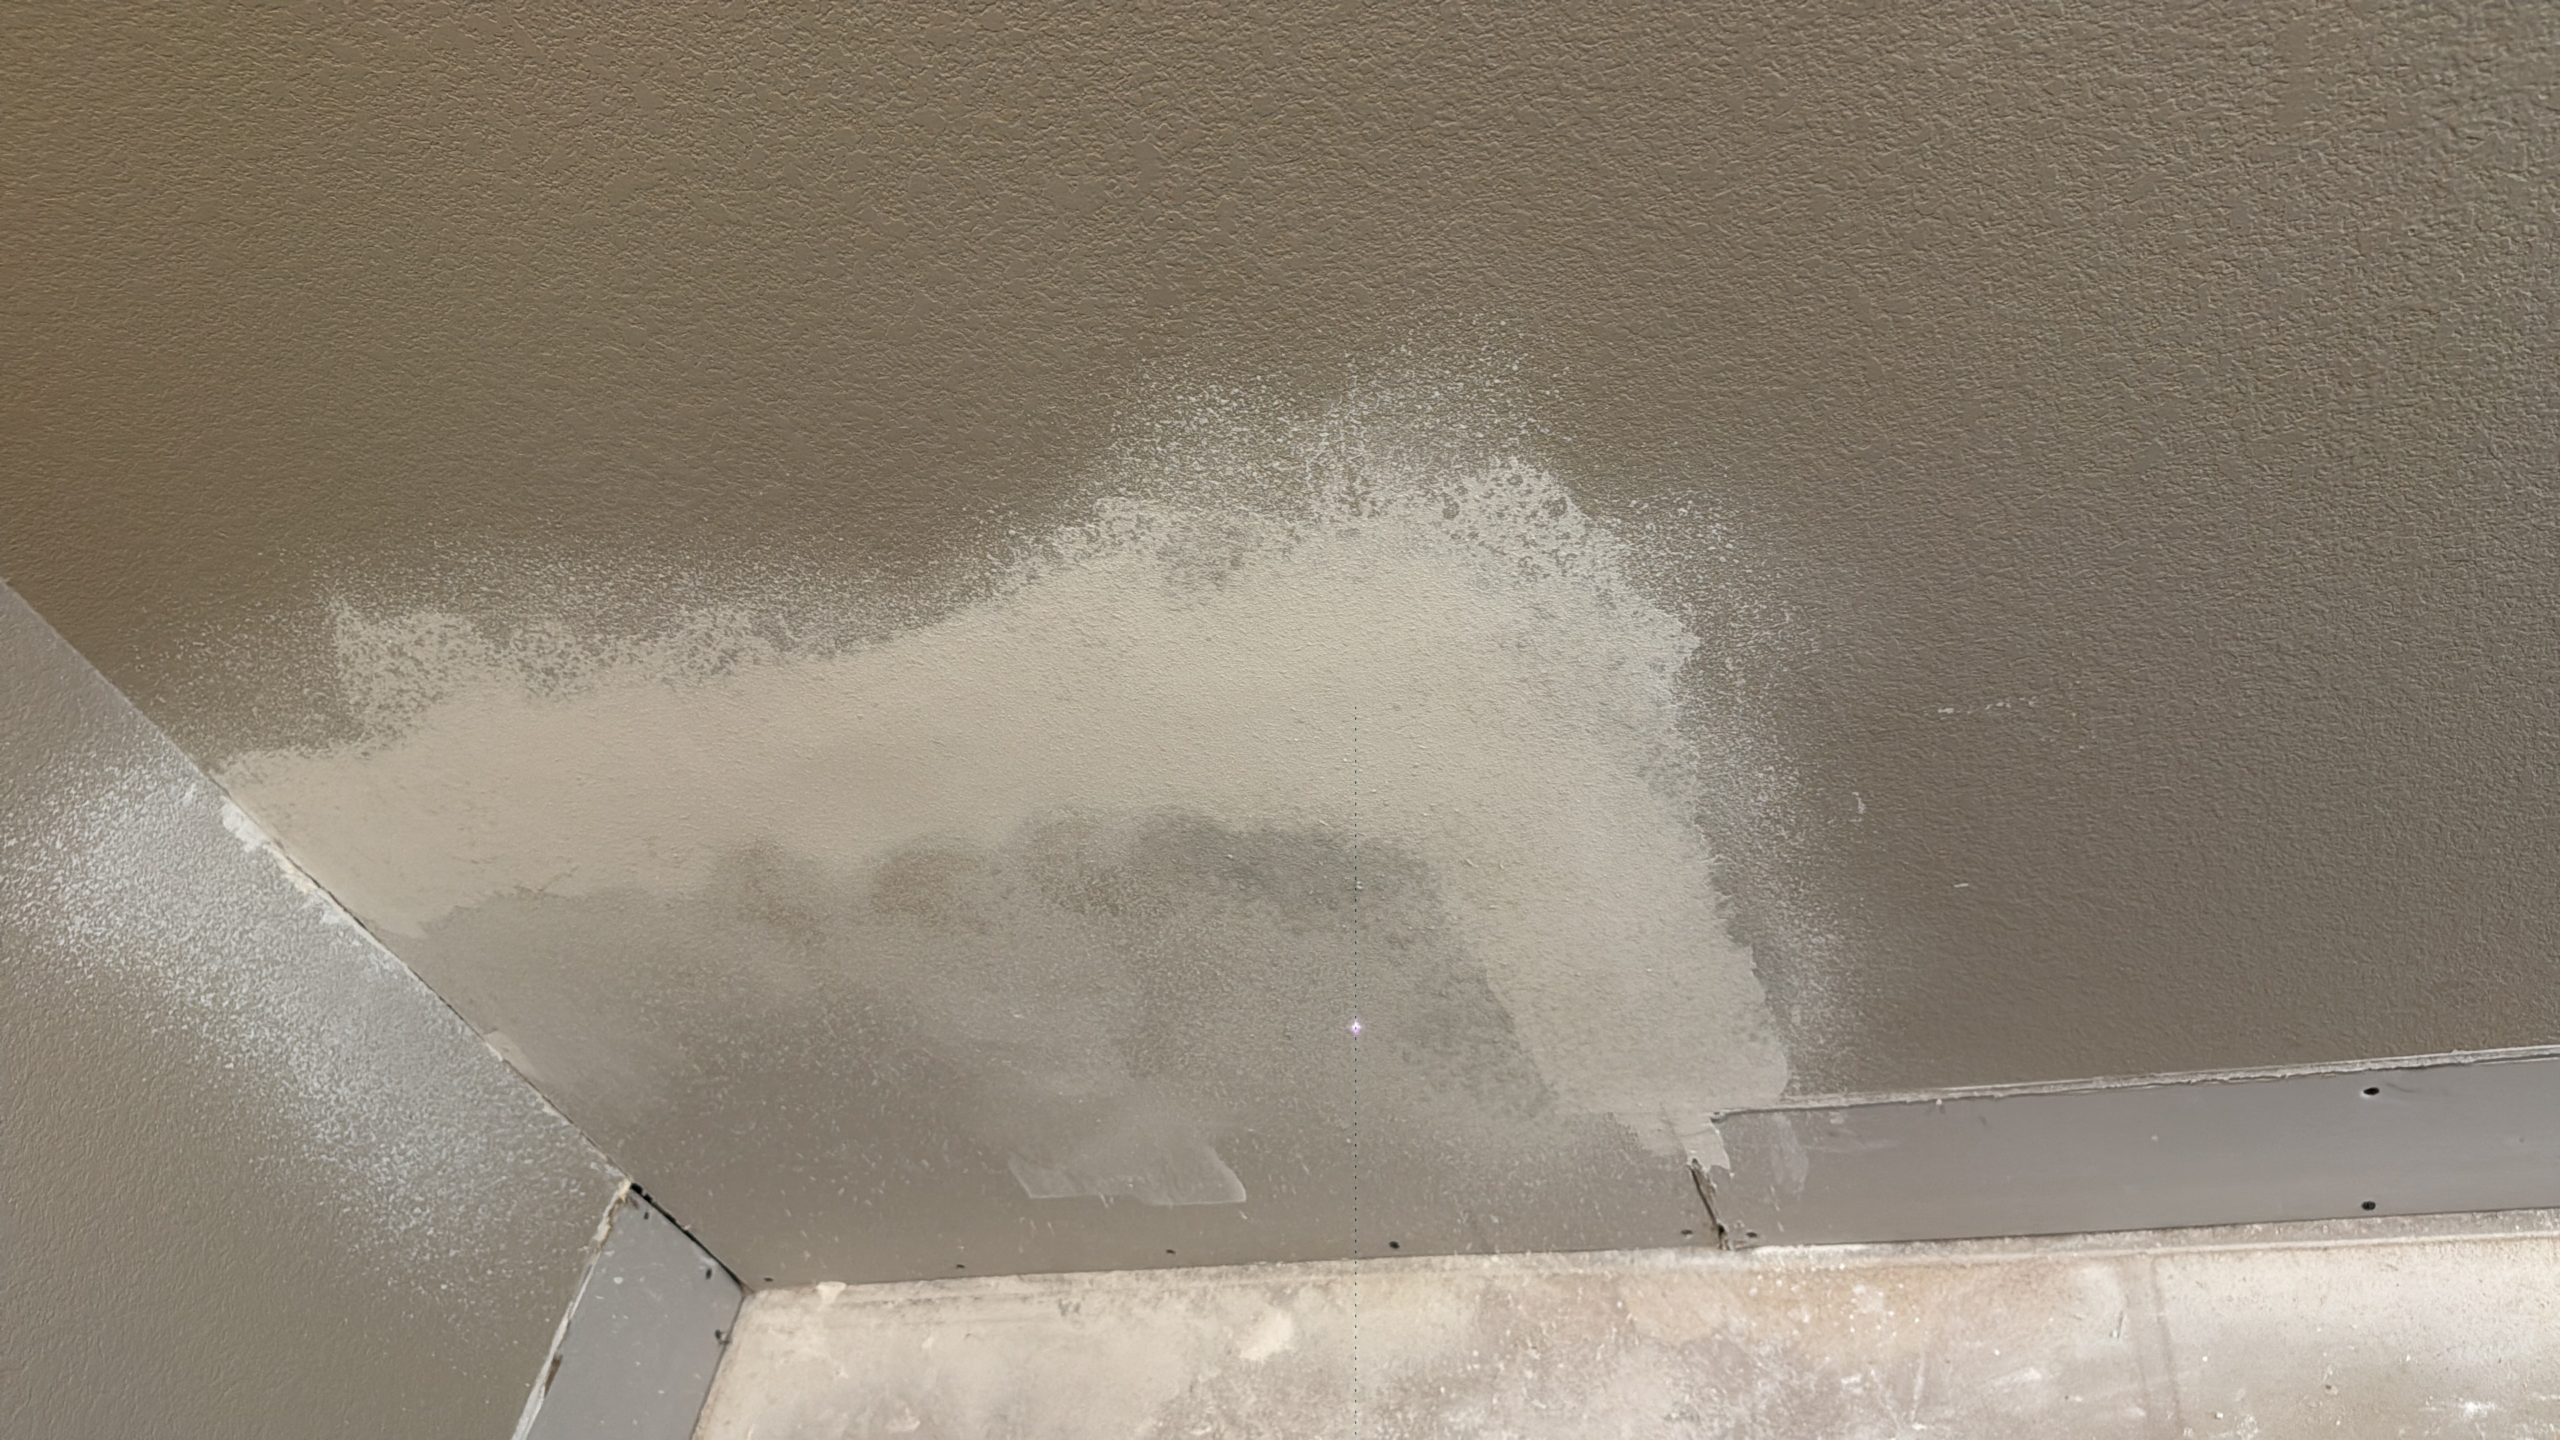
Texture matching is one of the most important parts of making a drywall repair disappear. Many homes in the Las Vegas Valley use orange-peel or knockdown-style textures. The exact pattern can vary depending on the original construction, previous repairs, and how the material was applied.
The goal is not simply to spray texture over the repaired area. The texture needs to be blended into the existing wall or ceiling so there is not a hard edge around the patch. That often means testing the pattern, adjusting the application, and feathering the texture outward.
Once the texture is dry, the repaired section is inspected before primer and paint. This helps avoid painting over a texture pattern that is too heavy, too light, or visibly different from the surrounding area.
Step 3: Protecting Floors, Fixtures, Trim, and Work Areas
A clean painting project starts with good protection. Floors, cabinets, fixtures, furniture, shower components, countertops, and other nearby surfaces should be covered or masked before painting begins.
This part of the job is easy to overlook, but it affects the final result. Proper protection helps keep paint, primer, texture overspray, sanding dust, and debris away from finished surfaces. It also makes cleanup faster and keeps the jobsite more organized while work is underway.
For occupied homes, we also try to keep the work area contained so the rest of the home remains as clean and usable as possible.
Step 4: Priming Repaired Areas
Fresh drywall compound and repaired surfaces absorb paint differently than previously painted walls. If repairs are painted without proper preparation, the finished wall can show dull spots, flashing, or differences in sheen.
Primer helps seal repaired areas and creates a more consistent surface for the finish coat. The type of primer depends on the condition of the wall, the repair material, the existing coating, and whether there are stains or other surface issues that need to be isolated.
For areas that have been repaired after moisture problems, the source of the moisture must be corrected and the material must be properly dry before painting begins. Paint should never be used as a shortcut to cover an active water problem.
Step 5: Painting Ceilings and Walls
Once the preparation is complete, the actual painting can begin. Ceilings and walls require different application techniques, especially when there are repaired sections, textured finishes, corners, trim lines, or multiple surfaces meeting in the same area.
On this project, the goal was a clean, uniform finish after the repair work. Painting was coordinated with the drywall and texture work so the transition from the repaired areas into the existing surfaces looked intentional rather than patched.
Our painting Las Vegas service covers interior walls, ceilings, drywall repair and painting, texture repair, trim, and painting connected to remodeling or repair projects.
Step 6: Baseboards and Final Details
Baseboards and trim can make a newly painted room look complete—or unfinished. When baseboards have been removed for repairs, flooring work, water damage restoration, or remodeling, they may need to be reinstalled, patched, caulked, and painted.
We inspect corners, nail holes, caulk lines, transitions, and the meeting points between trim and walls. These small details are often what separate a basic paint job from a finished-looking room.
What Makes a Good Interior Painting Job?
Homeowners often focus on paint color, but the quality of the final result depends on much more than the color selected. A professional-looking interior paint project should have:
- Clean and properly repaired surfaces
- Smooth drywall transitions
- Texture that blends with surrounding areas
- Straight cut lines around ceilings, trim, and fixtures
- Consistent coverage without obvious thin spots
- Properly protected floors and surfaces
- Clean baseboard and trim transitions
- A jobsite that is cleaned after the work is completed
Painting After Water Damage or Plumbing Repairs
Painting is often the final stage after a larger repair. A plumbing leak, failed fixture, roof leak, or water event may require opening walls or ceilings before the damaged area can be repaired. For roofing services, visit Presto Roofing LV.
In those situations, the correct order is important: stop the source, dry the area, remove or replace damaged material as needed, repair the drywall, restore the texture, prime, and paint.
If the project began with a leak or damaged interior material, see our water damage repair Las Vegas page for information about repair and rebuild work after the affected area has been addressed.
Painting as Part of a Home Remodeling Project
Painting is also one of the final steps in many remodels. Kitchen remodeling, bathroom remodeling, new flooring, door replacement, baseboard installation, and wall modifications often require paint touch-ups or complete repainting to tie the finished project together.
Coordinating the repair and painting work can reduce scheduling gaps and help avoid situations where one trade finishes a surface that another trade later needs to open or modify.
For larger projects, our home remodeling Las Vegas page explains how multiple interior improvements can be coordinated as one project.
Should You Paint Over Old Patches?
Not automatically. If the old patch is smooth, stable, properly textured, and sealed, it may only need light preparation before repainting. But if the patch has ridges, cracks, a different texture pattern, or visible edges, painting over it may make the repair more noticeable.
In many cases, correcting the patch first takes less time than trying to hide it with multiple coats of paint. Good preparation usually saves time and produces a better result.
How Long Does an Interior Painting and Repair Project Take?
The timeline depends on the amount of repair work, drying time between drywall coats, texture drying, room size, number of colors, ceiling height, trim work, and how much protection is required.
A straightforward repaint may move quickly, while a project that includes drywall replacement, multiple coats of joint compound, sanding, texture matching, primer, ceiling paint, wall paint, and baseboard work can take several days. Allowing materials to dry properly is part of getting a durable, professional-looking finish.
Interior Painting Services in Las Vegas
Call 4 Handyman provides interior painting and related repair services for homeowners, property managers, rental properties, and remodeling projects in Las Vegas. We can handle painting as a stand-alone service or combine it with drywall repairs, texture matching, trim work, baseboards, and other home repairs.
For examples of completed work, visit our project gallery. If you are planning an interior painting project and want us to look at the walls, ceiling, repairs, or texture first, contact us for an estimate.
Frequently Asked Questions About Interior Painting in Las Vegas
Can you repair drywall and paint the same area?
Yes. Coordinating drywall repair, texture, primer, and painting can help the repaired area blend better and makes the process easier for the homeowner.
Can you match existing wall texture?
We can evaluate the existing texture and work to blend the repaired area into the surrounding wall or ceiling. Exact results depend on the original texture and previous repairs.
Do repaired drywall areas need primer?
In many cases, yes. Primer helps seal new joint compound and can reduce visible differences in sheen or paint absorption.
Can you paint after a water leak?
Yes, but only after the source of the leak has been corrected and the affected area is properly dry and repaired. Painting should be the finishing step, not a way to cover an active moisture problem.
Do you paint ceilings and baseboards too?
Yes. Interior painting projects can include walls, ceilings, baseboards, trim, and repaired sections depending on the scope of work.
Request a Painting Estimate in Las Vegas
If your walls or ceilings need more than a quick coat of paint, Call 4 Handyman can evaluate the complete project—from drywall repair and texture preparation through the final paint finish.
Call 702-752-0758 or visit our contact page to request an estimate for interior painting in Las Vegas.
7 Powerful Painting Checks Before Approving the Finish
A painting estimate should describe the finished result you expect, including preparation and boundaries. Use these checks before booking a room refresh or reviewing work after drywall repairs. A small patch, a complete wall and a full room repaint are different scopes. The project above illustrates preparation and finishing, but your own estimate should reflect the actual room and selected products. Keep your room list, finish selections and approved scope together so the team can work from clear instructions.
1. Name Every Surface in the Scope
List walls, ceilings, trim, doors, frames and other surfaces separately. Do not assume that a request to paint the room includes every item inside it. Identify areas that should remain unchanged and any fixtures that need protection. Explain whether you expect a complete wall to be coated or only a repaired area to be touched up. The painting proposal should make those boundaries visible. If you add another surface during the job, ask for the change to be documented before work proceeds.
Photographs help show the layout, but they should not replace a clear room list. Label each image so the estimator knows which ceiling, corner or opening it shows. Include a wider view when furniture or a high ceiling affects access. This is especially useful if you are arranging service remotely or managing several rooms. A collection of close-up defects can hide the preparation and access needed around them. Give the team enough context to explain the proposed approach and any assumptions.
2. Separate Repairs From Paint Preparation
Ask which dents, cracks and earlier patches will be corrected before painting. Explain whether a defect has returned after previous work and whether moisture or another problem remains unresolved. A new finish is not a diagnosis of the underlying cause. The proposal should distinguish surface preparation from a separate repair assessment. If an area needs more work after it is opened or cleaned, establish how the provider will explain and price the change. This keeps an attractive finish from concealing an unresolved maintenance question.
3. Review Texture Under Normal Lighting
A wall can look different beside a bright window than it does under a central ceiling light. Discuss the lighting that matters to your room before deciding how much blending is included. Ask whether existing patches or repeated coats may remain visible and what broader preparation would change. Painting should be planned around a realistic finish expectation, rather than a promise that every old imperfection will disappear. If a texture sample or repaired test area is proposed, review it before the finishing work advances.
4. Confirm Color and Sheen Together
Keep the selected color, finish and product information together. Similar color names from different product ranges do not establish that two coatings are identical. Review a sample in the actual room when practical, including daylight and the lights normally used there. Discuss how the selected sheen may affect the appearance of the surface. If you already have leftover paint, share its label and approximate age with the team. It may help identify the existing finish, but an old container is not a guarantee of an invisible touch-up.
5. Agree on Protection and Occupancy
Before painting, identify possessions that can be moved and heavy items that must stay. Ask how floors, cabinets, fixtures and adjoining rooms will be protected. Explain whether the room is needed for work, sleeping or daily access during the project. Follow the team’s instructions about the work area and the selected products. Keep children and pets away from active work and stored materials. Discuss the room’s return to use before arranging furniture delivery or inviting another contractor to begin the next stage.
6. Use the Selected Product’s Timing
Ask what must happen between preparation, primer, finish coats and ordinary use. Different products and room conditions can require different schedules. Avoid applying a universal drying rule to every repair and coating. The painting team should use the applicable manufacturer instructions and explain what that means for the visit sequence. If the project has a fixed deadline, raise it while the estimate is prepared. A realistic schedule is more useful than booking several following services on the assumption that every stage finishes in one day.
7. Walk Through Before Packing Up
Compare the completed painting with the agreed surface list and boundaries. Review coverage, finish details, adjoining surfaces and cleanup under the lighting discussed before the job. Identify an unresolved item by room and location so the follow-up is clear. Keep paint labels, product instructions, invoices and written workmanship terms with your maintenance records. Ask when cleaning is appropriate for the selected finish. If a stain or crack returns later, document it and contact the provider rather than repeatedly covering the symptom with another coat.
Painting and Preparation Project References