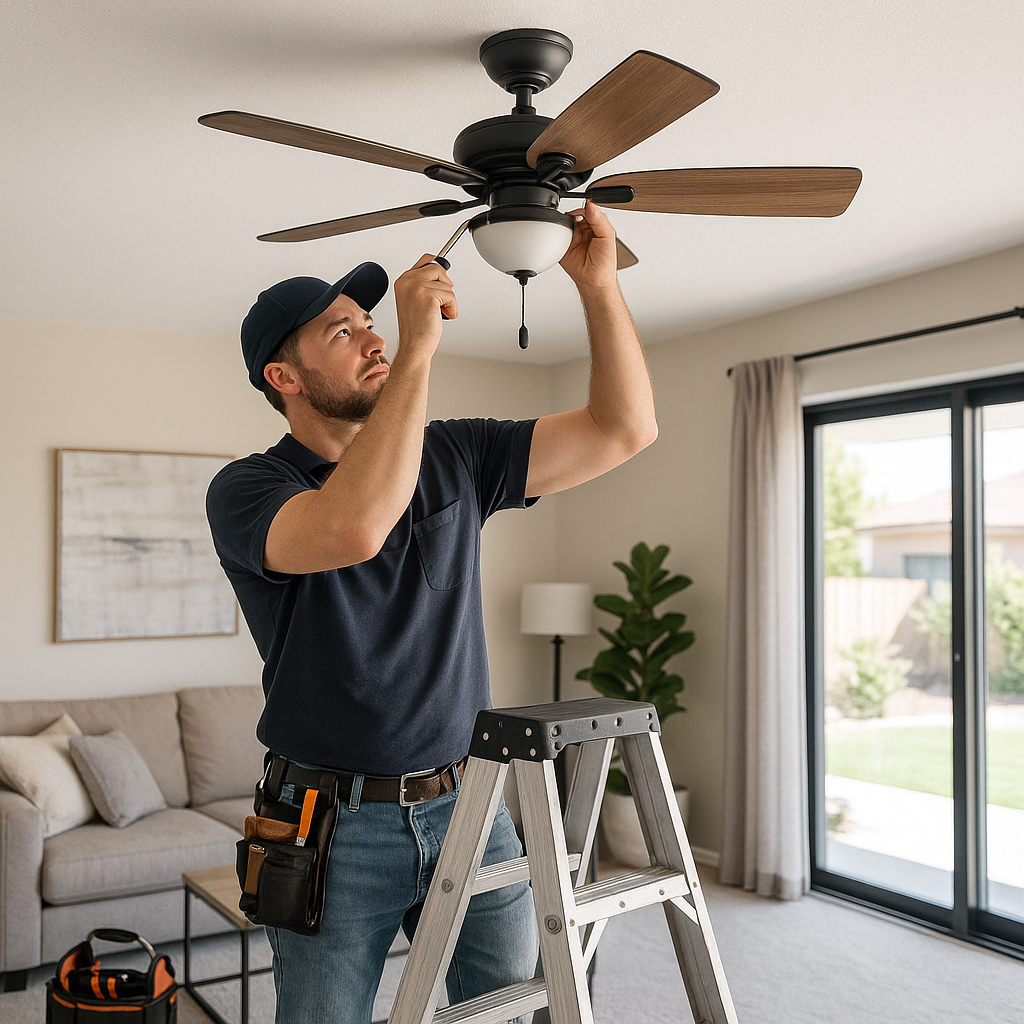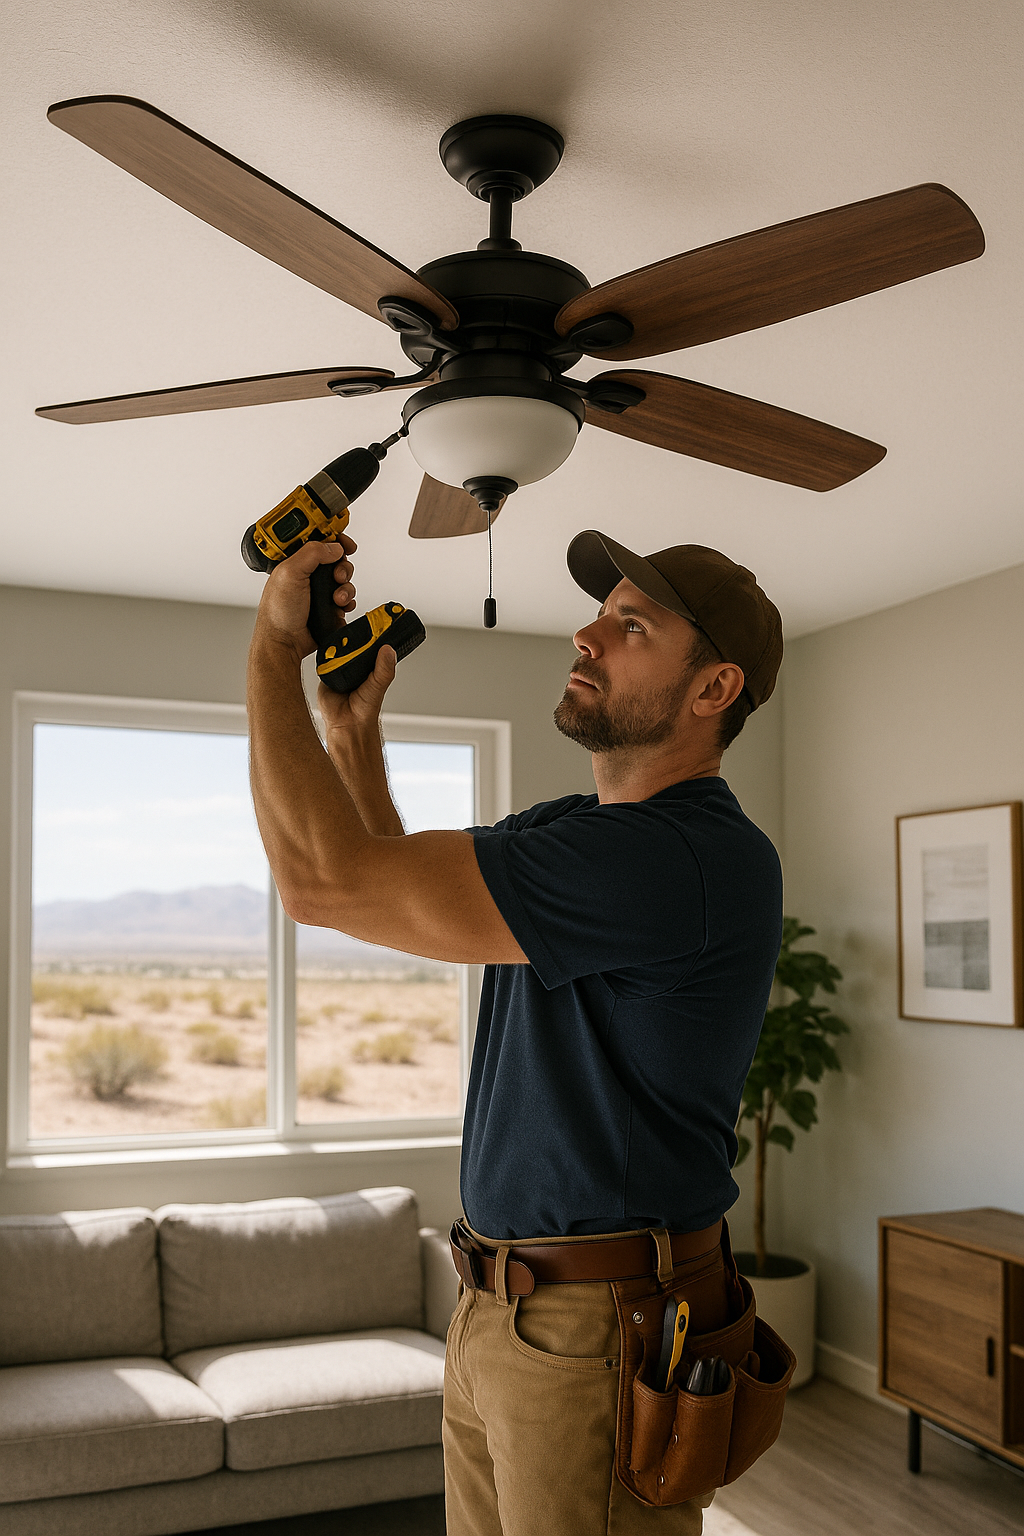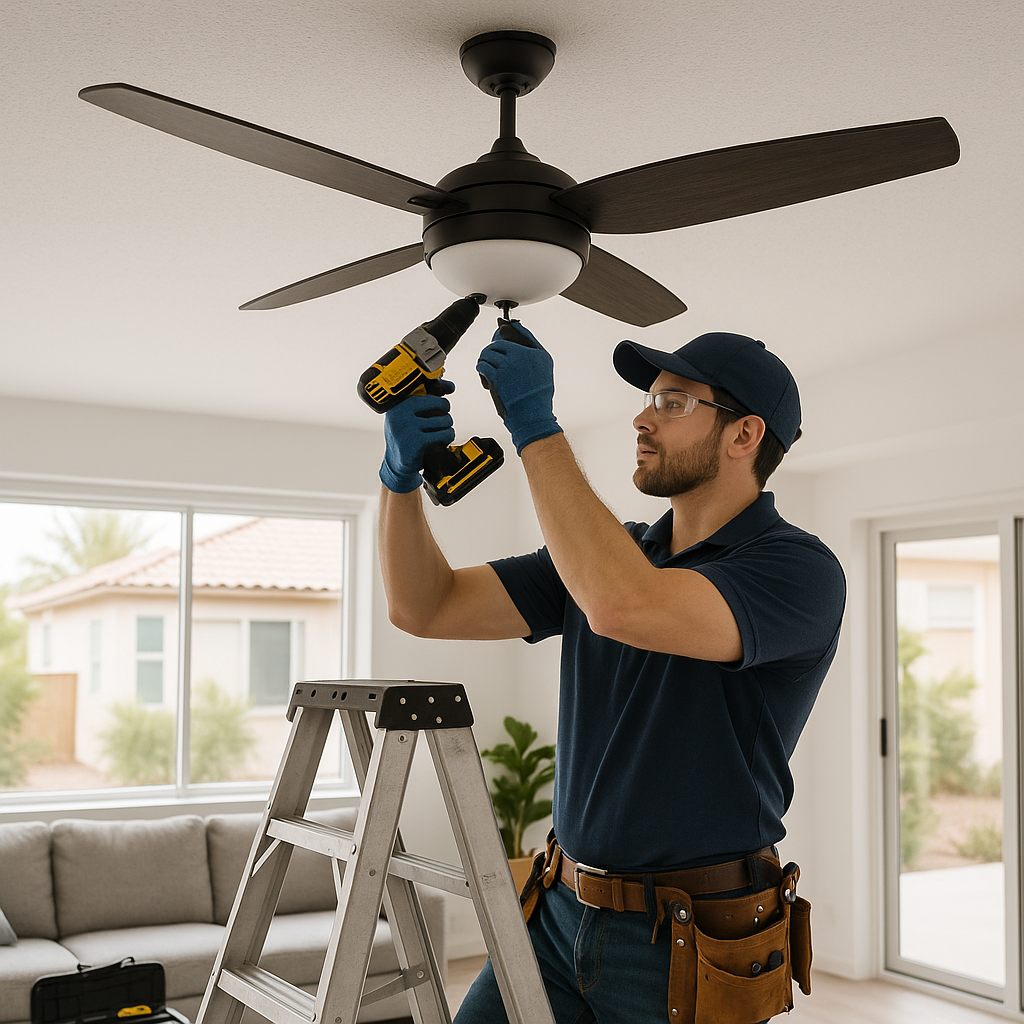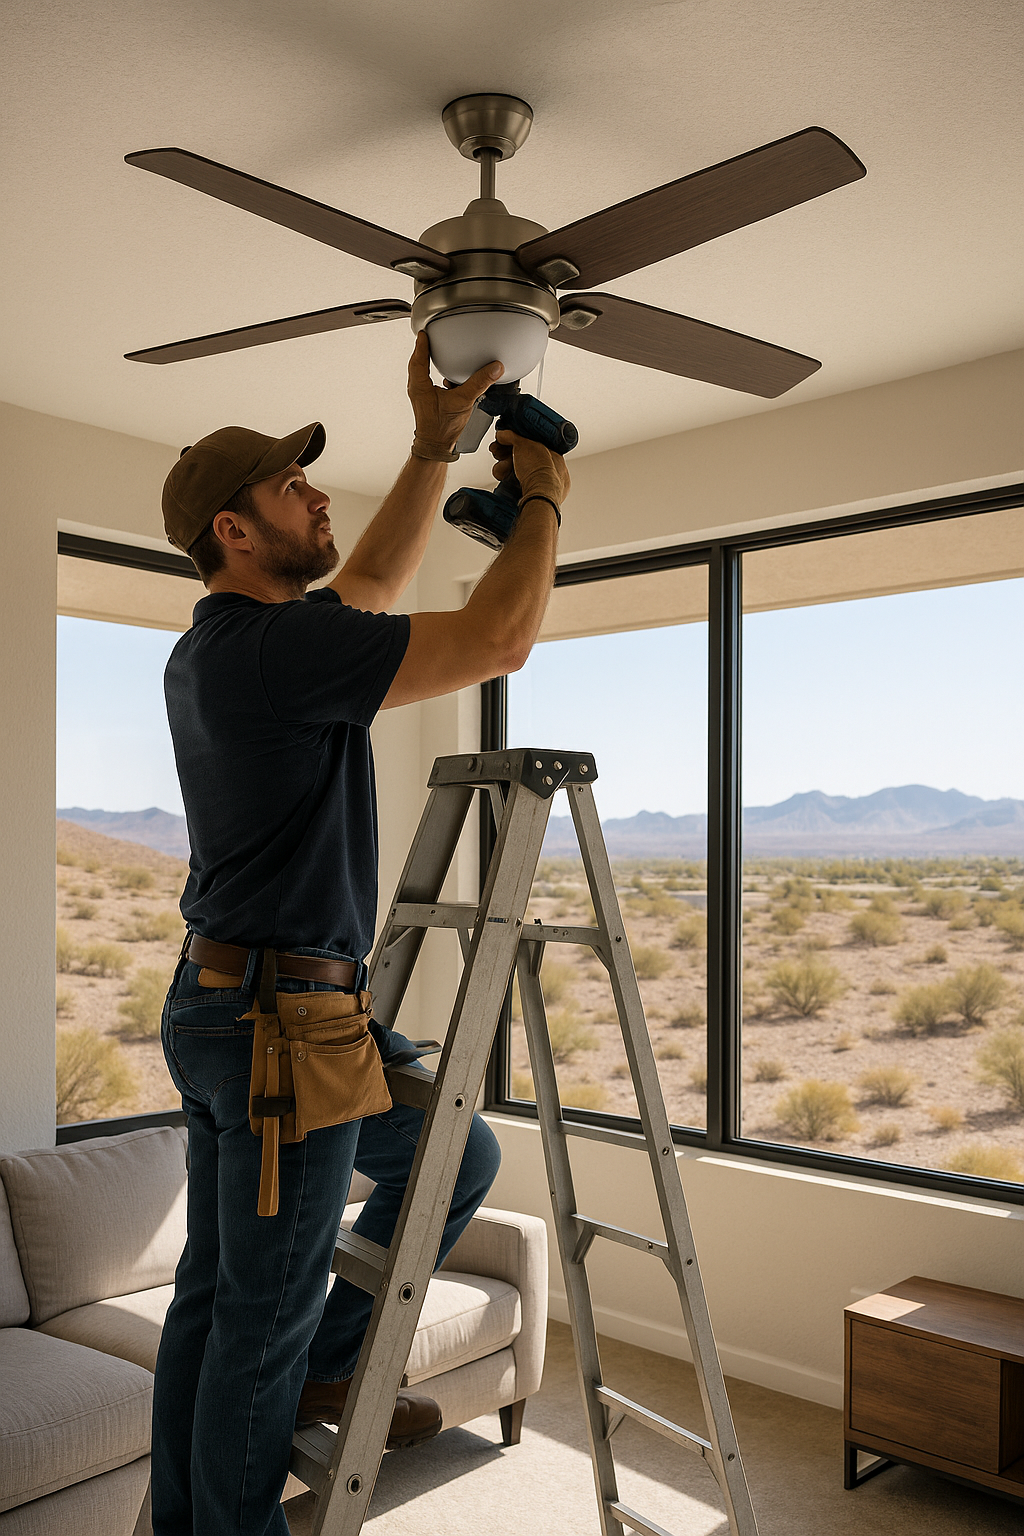
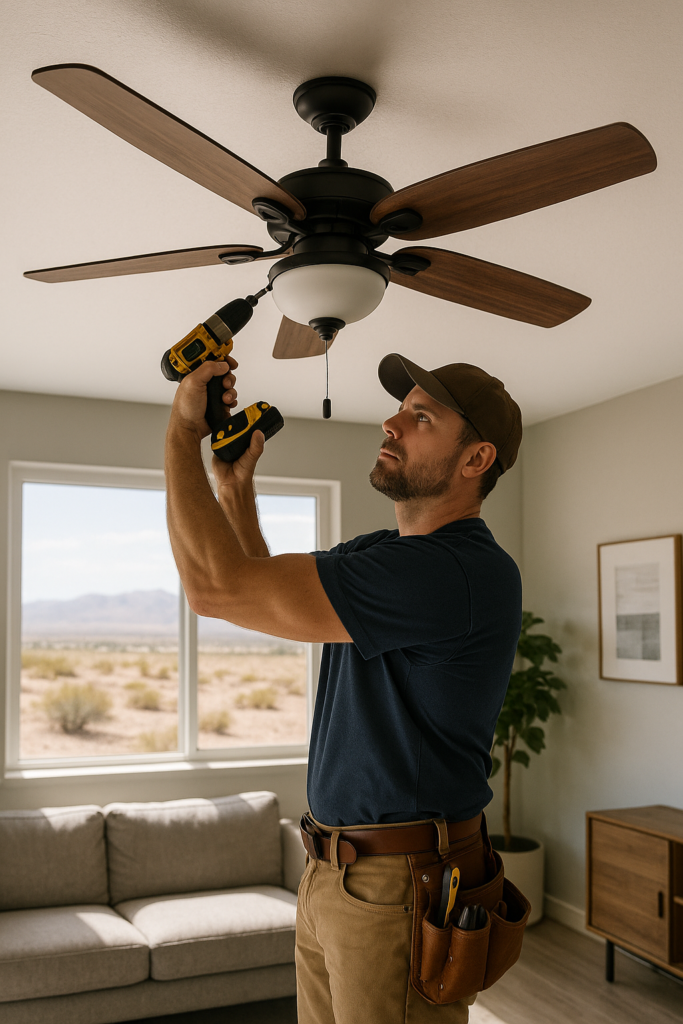
Ceiling fan installation is a popular improvement for homes in Henderson, offering both aesthetic appeal and functional benefits. With the hot desert climate, having a ceiling fan installed can significantly enhance comfort by circulating air efficiently. In this comprehensive guide, we’ll explore the advantages of ceiling fan installation, the installation process, common pitfalls, and when to call in the professionals at Call 4 Handyman.
Why Plan Ceiling Fan Installation?
Ceiling fans are more than just a decorative element; they offer several practical options:
- Energy Efficiency: Fans can improve how cool an occupied room feels. Savings depend on the equipment, operating time, and how you use air conditioning; adding a fan alone does not guarantee a lower bill.
- Improved Air Circulation: They help distribute air evenly, making spaces feel cooler in summer and warmer in winter when used in reverse.
- Style and Lighting: Modern ceiling fans come with integrated lighting options, enhancing room aesthetics.
Common Issues Before Ceiling Fan Installation
Before installing a ceiling fan, it’s essential to understand potential issues that can arise:
- Incorrect Wiring: Faulty wiring can lead to electrical hazards and inefficient fan operation.
- Improper Installation: If not installed correctly, fans can wobble, making noise and reducing efficiency.
- Overloading Circuits: Adding a fan to an overloaded circuit can cause power issues.
Signs Your Fan Installation Needs Professional Assessment
While some homeowners may feel comfortable installing a ceiling fan themselves, certain signs indicate the need for professional assistance:
- Complex Wiring: If your home has outdated or complex wiring, professional help ensures safety and compliance with local codes.
- Structural Concerns: Ceiling fans need secure mounting to avoid wobbling or falling.
- Time Constraints: Professionals can complete installations quickly and efficiently.
The Fan Installation Process
Installing a ceiling fan involves several steps:
1. Product Selection Before Fan Installation
Select a fan that suits your room size and style. Consider energy-efficient models to maximize savings.
2. Preparing the Area
Ensure the ceiling box is fan-rated and can support the fan’s weight. Electrical work should be assessed and performed by an appropriately qualified professional.
3. Wiring the Fan
The installer should assess the existing supply and controls and follow the specific product instructions. Arrange an appropriately licensed electrician when the work requires one.
4. Attaching the Fan Blades
Install the blades evenly to prevent wobbling. Ensure all screws are tightly secured.
5. Testing the Fan
Once installed, test the fan at different speeds to ensure smooth operation.
Fan Installation Mistakes to Avoid
- Ignoring Weight Limits: Ensure the ceiling can support the fan’s weight.
- Skimping on Tools: Use proper tools to avoid damage or injury.
- Overlooking Instructions: Always follow the manufacturer’s guidelines to ensure safety and performance.
Maintenance After Ceiling Fan Installation
Proper maintenance extends the life of your ceiling fan:
- Regular Cleaning: Dust the blades regularly to maintain airflow efficiency.
- Tighten Screws: Check and tighten screws periodically to prevent wobbling.
- Model-Specific Maintenance: Follow the manufacturer’s maintenance instructions. Do not add lubricant unless the instructions for that model specifically require it.
When to Call Call 4 Handyman
Professional assessment helps establish the mounting, access, and electrical work required for fan installation. Call 4 Handyman offers expert handyman services in Las Vegas, including ceiling fan installation, ensuring you get the most out of your investment.
FAQ
- Can I install a ceiling fan myself? While possible, the scope should be assessed before work starts, with an appropriately qualified professional handling electrical work.
- How long does installation take? Typically, it takes a few hours, but this can vary based on complexity and location.
- What size fan do I need? Choose a fan based on room size; larger rooms require bigger fans.
- Do fans help with heating? Yes, using the reverse setting circulates warm air during winter.
- Are ceiling fans energy efficient? Fans can improve comfort, but savings depend on how they are used with the rest of the cooling system.
Conclusion
Ceiling fan installation in Henderson offers numerous benefits, from energy savings to improved comfort. For expert installation and peace of mind, trust Call 4 Handyman. Contact us today to schedule your service.
Call 4 Handyman
702-752-0758
Request an estimate to discuss your room, fixture, and installation scope.
7 Planning Checks Before Fan Installation in Henderson
The most useful preparation happens before the new fixture is opened. Start with the actual room, the reason for replacing the fan, and what is already installed. A simple replacement can have a different scope from adding a fan where only a light fixture exists. Describe the current setup when you request service. These seven checks help organize the conversation: room fit, mounting, controls, access, product selection, the written estimate, and the final operational review. Each one can affect the time and work required.
1. Match the Fixture to the Room
For ceiling fan installation, consider how the room is used rather than choosing by appearance alone. A bedroom, dining area, living room, and covered outdoor area can have different requirements. Measure the room and note ceiling height, nearby walls, doors, and tall furniture. Check the manufacturer’s clearance requirements for the specific product. A fan that fits visually may still be unsuitable for the mounting location. Share photographs and measurements with the installer before ordering an expensive fixture or arranging a fixed installation date.
Also think about where people sit, sleep, and work. Tell the installer if the existing light is off-center, if a bunk bed is nearby, or if a cabinet door opens toward the proposed blade area. Those observations help identify questions about fit. They are not a substitute for checking the installation instructions and actual conditions. If the proposed fixture changes the room’s layout or creates a clearance concern, discuss alternatives before installation. Keeping the decision at the planning stage is easier than returning a partly assembled product.
2. Ask About Mounting Before Fan Installation
A visible ceiling cover does not tell a homeowner everything about the support behind it. Ask the service provider to assess whether the mounting arrangement is appropriate for the selected fan. Do not assume that a box holding an old light is suitable for a ceiling fan. Explain whether a previous fan occupied the location and whether it ever moved or made noise. The assessment should establish what can be reused and what needs further work. If concealed conditions change the scope, request an explanation before additional work begins.
In an older Henderson home, previous alterations may be undocumented. A recently remodeled room can also contain conditions that are not visible from the floor. Give the installer any product paperwork or earlier repair records you have, but avoid treating an old receipt as proof that today’s mounting is acceptable. Ask what will be checked during the visit and what limitations apply if the support cannot be fully assessed without opening the ceiling. A clear scope should distinguish inspection, replacement hardware, access work, and any separate ceiling repair.
3. Describe Existing Switches and Controls
Before fan installation, take note of the controls you currently use. Is there a wall switch, a remote, a pull chain, or a combination? Does one control operate the light and another operate the fan? Provide the model information for the replacement unit and keep its instructions available. Not every fan works with every wall control or dimmer. The installer or electrical professional should assess compatibility. A control that seemed convenient on the old fixture may not be appropriate for the new electronics, receiver, or motor.
Avoid buying extra controls solely because their packaging says they work with ceiling fans. Check the specific model’s requirements and discuss the desired setup first. If a family member needs a simple control arrangement, explain that preference before the visit. The team can identify questions about mounting the remote, retaining a wall switch, or operating the light separately. Any new wiring or changes to the supply should be scoped and handled by the appropriate professional. This guide is for planning the service, not for attempting electrical connections yourself.
4. Plan Safe Room Access
Fan installation requires usable access below the fixture. Clear movable items and tell the service team about beds, tables, built-in cabinets, or other obstacles that cannot easily move. Explain the ceiling height and whether the ceiling is sloped. Do not climb onto furniture to take measurements or reach the old fan. Safe access equipment is part of planning the work. If the location needs more than a standard visit, discussing it beforehand helps the provider bring appropriate equipment and estimate the time more realistically.
Protecting the room is another part of the plan. Tell the team about delicate furniture, recently finished surfaces, and flooring that needs special care. For related property work, see our flooring services; new floor repairs are a separate scope from fixture replacement. Keep children and pets away from the work area and arrange another space for anyone who needs the room during the visit. Discuss access through gates, parking, stairs, and building corridors when the appointment is booked.
5. Confirm What Arrives With the New Fan
Check the product before scheduling fan installation. Confirm the model, finish, light kit, remote, mounting accessories, and any downrod or special parts specified for the location. Keep the carton and packing information until the work is reviewed. If the fixture arrives damaged or a part is missing, contact the seller before the installation date. Do not mix brackets or mounting parts from different products unless the manufacturer specifically permits it. The installer should work from the correct instructions rather than improvise around an incomplete or mismatched kit.
If you supply the fan, explain that when requesting the estimate. If you want the team to help source one, discuss the selection process and approval before purchase. The fixture price and installation labor are different parts of the project. A specialty product, unusual ceiling, missing part, or unexpected mounting issue can affect the visit. Product warranties also differ from workmanship terms. Ask who handles a defective fixture and what service is included if a replacement product requires another appointment. Keep those terms with the approved estimate.
6. Compare Written Fan Installation Estimates
Compare the same scope across proposals. Ask whether the price includes removing the old fixture, assembling the new fan, evaluating mounting, addressing compatible controls, testing operation, and cleanup. Check whether disposal is included and whether ceiling patching or painting is excluded. A basic replacement quote is not directly comparable to a proposal that includes additional support or electrical work. Request clarification about assumptions before approving the job. This lets you assess the actual service rather than compare two headline prices that describe different tasks.
For fan installation in a condominium or managed community, check access and work-hour requirements with management. Requirements vary by building and scope, so do not assume every Henderson property follows the same process. Tell the service provider about approvals, elevator arrangements, or insurance-document requests before the visit. Our Henderson handyman services page describes related local work. The estimate should still be based on your specific location, the selected fixture, and the conditions the provider is able to assess.
7. Review Operation at the End of the Visit
At the end of fan installation, ask the installer to demonstrate the supported speeds, light settings, and controls. Discuss any unexpected noise, movement, or control behavior before the work is closed out. Keep the remote instructions and model information where you can find them later. If a condition remains unresolved, ask for it to be noted rather than assuming the project is complete. A walkthrough gives you a chance to understand the installed product and confirm which items were included in the agreed scope.
A fan that shakes, smells unusual, makes a new electrical sound, or behaves unpredictably should be evaluated instead of repeatedly adjusted by trial and error. Stop using a fixture that appears unsafe and contact an appropriate service professional. Explain the symptom, the model, and when it began. A video taken safely from the floor can help document intermittent behavior, but it does not establish the cause. Describe whether the issue occurs at one speed, with the light on, or after a control change so the inspection has useful context.
Use Ceiling Fans With Realistic Cooling Expectations
The Department of Energy’s home cooling guidance explains that fans improve how cool people feel rather than lowering the room’s air temperature. Turn the fan off when the room is unoccupied. How much energy you save depends on how you operate it with your cooling system. Fan installation is not a repair for a malfunctioning air conditioner, poor insulation, or a blocked supply vent. Discuss those separate concerns with the appropriate professional instead of expecting a new fixture to solve every comfort problem.
Choose speed settings that feel comfortable for the people in the room and follow the product instructions for seasonal operation. Some models have a remote or electronic setting rather than an accessible direction switch. Do not reach toward a moving fan to make adjustments. Keep the manufacturer’s instructions after fan installation so routine use does not become guesswork. If the light and airflow needs differ, discuss those priorities during selection. A quieter motor, a particular light appearance, or simpler controls may matter more to your household than decorative styling.
Coordinate Ceiling Repairs Without Confusing the Scope
Sometimes fan installation exposes an old opening, damaged finish, or previous patch around the fixture. Ask whether the installation visit includes any cosmetic work and whether another appointment will be needed. Review our drywall repair services if the ceiling needs patching. A new canopy may not cover the exact footprint of the old fixture. Discuss that possibility before choosing a smaller cover or removing a decorative ceiling ring. Knowing what to expect helps prevent surprise finishing work after the fan is operational.
If you are planning several room improvements, organize them before booking. The handyman services overview and project photo gallery can help you identify related tasks to discuss. Keep electrical assessment, fixture installation, ceiling repairs, and decorating as clear line items even when they are coordinated together. For offices and managed properties, review our commercial handyman services. Availability and the appropriate trade depend on the work required, so confirm the scope before scheduling.
Keep Records After Fan Installation
Save the product receipt, model number, user instructions, installation invoice, and any written warranty terms. Note the service date and which components were supplied or replaced. If the job included a separate electrical assessment or ceiling repair, keep those details with the same record. Clear documentation makes future fan installation or maintenance easier because the next provider can identify the fixture without guessing. Keep spare manufacturer-supplied parts in a labeled container. Do not discard brackets or controls you might need to return a defective product until the seller’s requirements are clear.
For additional property-maintenance ideas, visit the Call 4 Handyman blog. The Call 4 Handyman home page also summarizes our service areas and repair options. When contacting us about this article, explain that you are planning ceiling fan installation in Henderson and describe the existing fixture. Include the number of fans, approximate ceiling height, room access, and whether you already own the replacement units. Call 702-752-0758 to discuss the next step. Licensed, Insured, Bonded.
Ceiling Fan Installation Planning Illustrations