Upgrading your home’s flooring is one of the most impactful investments you can make, especially in the unique desert environment of Southern Nevada. Tile installation in Las Vegas isn’t just about aesthetics. It’s a strategic choice for durability, temperature control, and long-term value. Whether you’re remodeling a kitchen in Summerlin or updating a bathroom in Henderson, choosing the right material and installer is key. This guide provides everything a Las Vegas homeowner needs to know about successful tile installation.
Why Tile is the Ultimate Choice for Las Vegas Homes
Las Vegas presents specific challenges for home materials: extreme heat, low humidity, and plenty of desert dust. Tile outperforms almost every other flooring type in this climate for several reasons:
- Natural Cooling: Tile remains cool to the touch even when the outside temperature exceeds 110°F. This helps reduce your home’s ambient temperature and can even lower your air conditioning costs during the brutal summer months.
- Dust and Allergen Resistance: Unlike carpet, which traps the fine desert silt common in the Valley, tile is easy to sweep and mop. For families dealing with seasonal allergies, tile provides a much cleaner indoor air environment.
- Extreme Durability: Las Vegas homes are often built on post-tension concrete slabs that can shift slightly. Quality tile, when installed with the correct thin-set and expansion joints, handles these minor movements better than rigid hardwood.
Popular Tile Options for Southern Nevada
When browsing showrooms in Las Vegas, you’ll encounter several popular options. Understanding their pros and cons is essential for a smart purchase.
1. Porcelain Tile
Porcelain is the “gold standard” for Las Vegas. It is denser and less porous than ceramic, making it highly resistant to scratches and moisture. It’s perfect for high-traffic entryways where people track in sand and gravel.
2. Ceramic Tile
A more budget-friendly option, ceramic tile is excellent for walls and low-traffic areas. While slightly softer than porcelain, it offers a massive variety of colors and patterns to suit any interior design style.
3. Natural Stone (Travertine, Slate, and Marble)
For a luxury look, many Las Vegas homeowners opt for natural stone. Travertine is particularly popular in luxury Henderson estates due to its earthy tones. However, stone requires periodic sealing to protect against the hard water common in the Las Vegas Valley.
4. Wood-Look Tile
The biggest trend in local home renovations is wood-look porcelain tile. You get the warm, classic aesthetic of hardwood without the risk of warping, which is a major concern for real wood in our dry, arid climate.
The Tile Installation Process: What to Expect
A professional installation ensures your floor doesn’t just look good today, but remains crack-free for decades. Here is the process we follow at Call 4 Handyman Las Vegas:
Step 1: Subfloor Preparation
In Las Vegas, most homes have concrete subfloors. We must ensure the concrete is level and free of cracks. If there are existing “settlement cracks,” we apply a crack isolation membrane. This prevents the crack in the concrete from “telegraphing” up through your new tile.
Step 2: Layout and Planning
We don’t just start in a corner. We find the center point of the room to ensure the cuts at the edges are balanced and aesthetically pleasing. “Dry laying” the tile allows you to see the pattern before it becomes permanent.
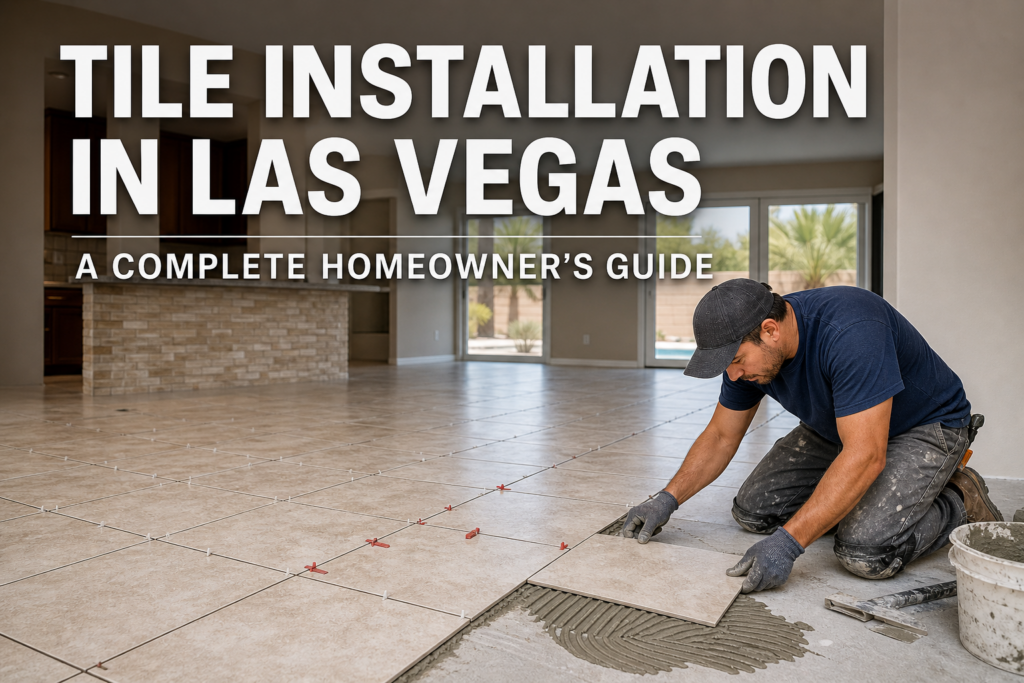
Step 3: Setting the Tile
Using a high-quality thin-set mortar suited for the desert climate is vital. We use spacers to ensure perfectly even grout lines, which is especially important for the popular “large format” tiles (like 12×24 or 24×24).
Step 4: Grouting and Cleaning
Once the mortar has cured, we apply grout. In Las Vegas, we often recommend “stain-resistant” or “power grout” that doesn’t require sealing and won’t fade under the intense UV rays that stream through your windows.
Step 5: Final Sealing (If Applicable)
If you’ve chosen natural stone or certain types of ceramic, a final sealant is applied to protect the surface from spills and hard water stains.
Climate-Specific Considerations: The Las Vegas Factor
Installation in the desert is different from that in the humid East Coast.
- Expansion Joints: Large areas of tile need “expansion joints” to allow the floor to breathe as temperatures fluctuate. Without these, the tile can “tent” or pop up.
- Rapid Drying: Because our humidity is so low, mortar and grout can dry too quickly. Professional installers know how to manage this to ensure a strong chemical bond.
- Hard Water Protection: Las Vegas has some of the hardest water in the country. Using the right grout and sealer prevents white “efflorescence” (salt deposits) from ruining your new floor.
DIY vs. Professional Handyman Installation
Many homeowners consider DIY tile installation to save money. However, tiling is a “permanent” renovation. Mistakes in the subfloor prep or layout can lead to “lippage” (uneven tile heights) or cracking within months.
Hiring a professional Las Vegas handyman like our team ensures:
- The Right Tools: You won’t need to rent expensive wet saws or mixers.
- Speed: A project that takes a DIYer three weekends can be completed by our pros in a few days.
- Guaranteed Quality: We stand by our work, ensuring your transition strips and baseboards are finished to a professional standard.
Maintenance Tips for Your New Floor
To keep your tile looking brand new in the desert:
- Frequent Sweeping: Remove desert sand quickly so it doesn’t act like sandpaper on the finish.
- Use pH-Neutral Cleaners: Avoid harsh chemicals that can strip the sealer or damage grout.
- Steam Cleaning: Every 1–2 years, a professional steam clean can refresh the grout lines and remove deep-set dust.
FAQs about Tile Installation in Las Vegas
1. How long does a typical tile installation take in Las Vegas?
Most standard-sized rooms take 2 to 4 days, depending on the subfloor condition and the tile size. This includes preparation, setting, and 24 hours for the grout to cure.
2. Can you install new tile over existing tile?
Yes, but only if the original tile is perfectly bonded to the floor and level. However, in most Las Vegas homes, we recommend a full “tear-out” to ensure the new subfloor is properly prepared.
3. What is the best tile for high-traffic areas like entryways?
Porcelain tile is the best choice. It is extremely hard and resistant to the abrasive desert sand that often gets tracked into Las Vegas homes.
4. Does the dry Las Vegas air affect the installation?
Yes. Mortar can dry too quickly in our low humidity. We use specific techniques and premium additives to ensure the bond remains strong despite the dry conditions.
5. How much does professional tile installation cost in Las Vegas?
Costs vary based on the tile type and pattern complexity (like herringbone). On average, labor for tile installation in the Valley ranges from $6 to $15 per square foot, plus the cost of materials.
Conclusion
Investing in quality tile installation in Las Vegas is a decision that pays off in comfort, beauty, and resale value. The right materials can help keep your home cooler while offering long-lasting durability suited to the region’s climate.
Don’t leave your home’s transformation to chance. Work with a team that understands local conditions and architectural styles. At Call 4 Handyman Las Vegas, we take pride in delivering flawless flooring results for our neighbors across the Valley. Contact us today to schedule your consultation and take the first step toward a cooler, more beautiful home.